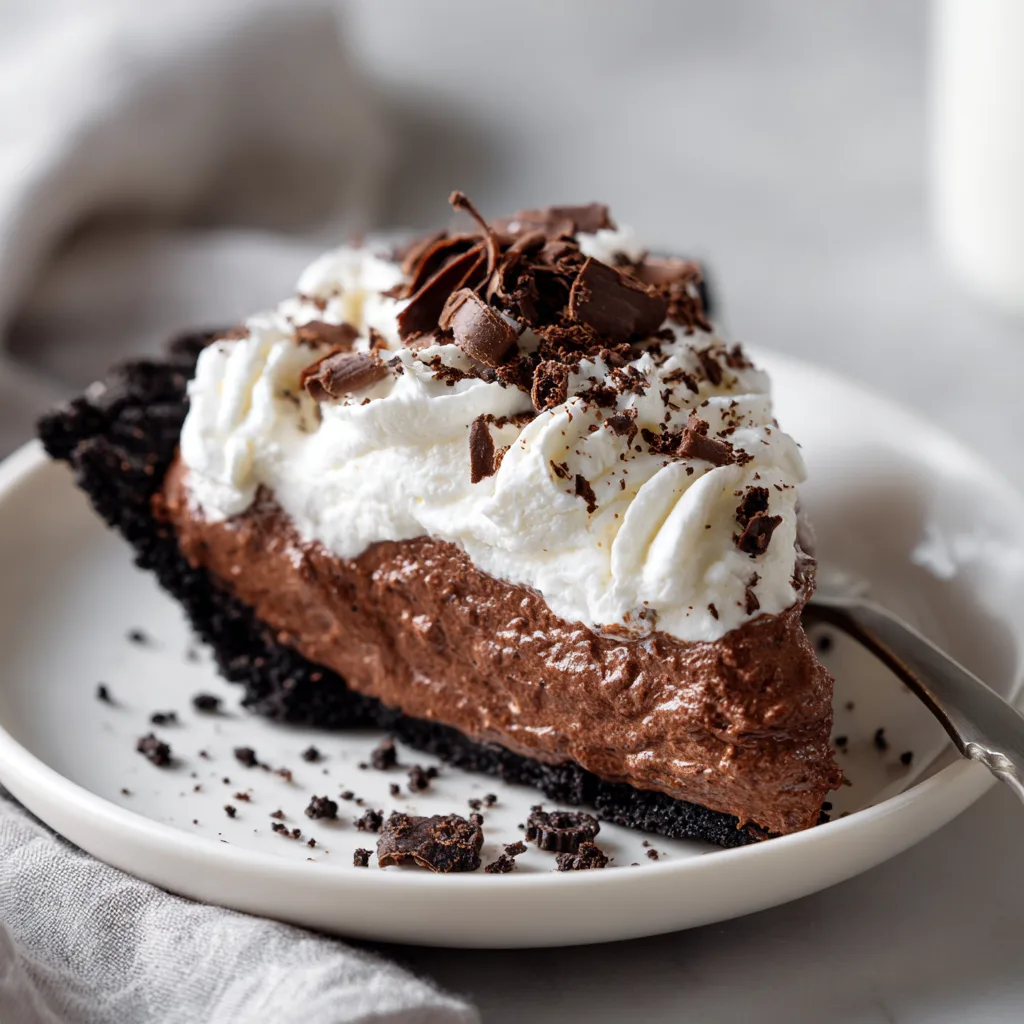
No-Bake Oreo Chocolate Mousse Pie
A Silky, Creamy, Dreamy Chocolate Dessert Wrapped in a Cookie Crust
There is something so deeply comforting about a dessert that asks almost nothing from you — no oven preheating, no strict temperature timing, no pastry dough stress, no fancy equipment. Just simple mixing, layering, and chilling. That’s the quiet beauty of a no-bake dessert, and especially of this No-Bake Oreo Chocolate Mousse Pie.
This dessert is smooth and velvety like a cloud of chocolate cream, cradled in a rich Oreo crust that requires zero baking. It’s elegant enough for holidays, indulgent enough for celebrations, and easy enough for a Tuesday night treat. It feels luxurious without being fussy, decadent without being heavy, and comforting in a way that reminds us how dessert can soothe and delight in equal measure.
This is the kind of pie you serve to someone you love.
This is the kind of pie that makes someone say,
“Wait—YOU made this??”
And you’ll smile, knowing it took almost no effort at all.
The Beauty of a No-Bake Dessert
There’s a special kind of magic in letting time do the work.
Instead of heat transforming ingredients, it’s the cooling that changes everything:
- Cream firms into mousse
- Butter and Oreo crumbs mold into a sliceable crust
- Flavors meld and deepen into something richer, more delicious, more harmonious
You create it with your hands…
But the refrigerator completes it, slowly, quietly, gently.
There’s something peaceful in that.
The Emotional Heart of This Pie
This pie is more than chocolate and cookies.
It tastes like:
- birthdays lit with glowing candles
- movie nights under warm blankets
- quiet Sunday afternoons when the house is soft and slow
It’s the “just because” dessert.
The “you deserve something sweet today” dessert.
The dessert that says,
I made this thinking of us.
Chocolate is comfort.
Oreos are nostalgia.
Together? Pure happiness.
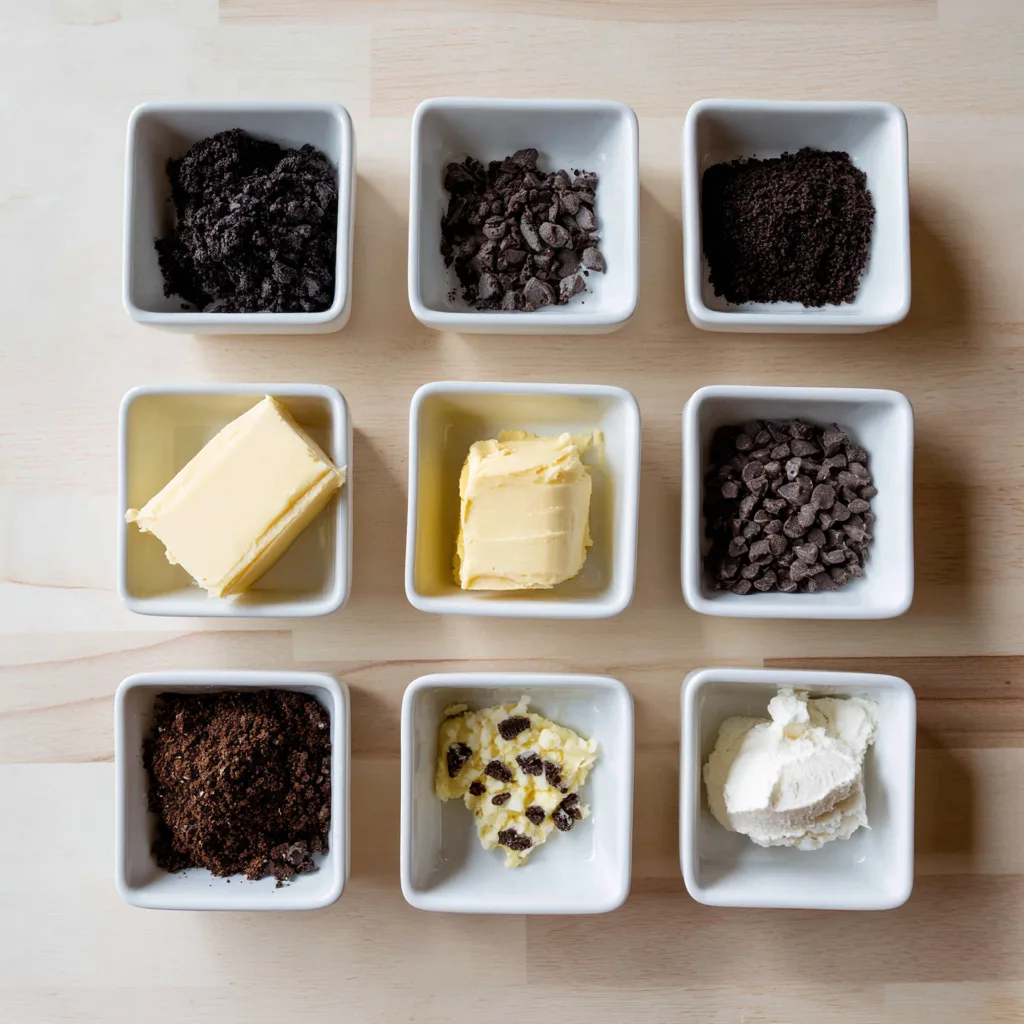
Ingredients
For the Oreo Crust:
- 24 Oreo cookies (filling included)
- 5 tablespoons melted butter
For the Chocolate Mousse Filling:
- 1 ½ cups heavy whipping cream (very cold)
- 1 cup semi-sweet chocolate chips (or chopped chocolate)
- 3 tablespoons butter
- 1 teaspoon vanilla extract
- 2 tablespoons powdered sugar
For Topping (Optional but Lovely):
- Extra whipped cream
- Roughly chopped Oreos
- Chocolate curls or chocolate drizzle
Instructions
- Place the Oreos into a food processor and pulse until finely crushed. If you don’t have a processor, place the cookies in a zip-top bag and crush with a rolling pin.
- Pour the melted butter over the crumbs and stir to combine until the texture resembles slightly wet sand.
- Press the mixture firmly into the bottom and up the sides of a pie dish. Pack it tightly for best slicing. Place the crust in the refrigerator while you prepare the filling.
- In a heat-safe bowl, combine the chocolate chips and butter. Melt in the microwave in short bursts (15–20 seconds), stirring each time, until silky smooth. Set aside to cool slightly.
- In a large mixing bowl, whip the cold heavy cream with the powdered sugar and vanilla until soft peaks form.
- Gently fold the melted chocolate mixture into the whipped cream, moving slowly to keep the mixture airy and mousse-like.
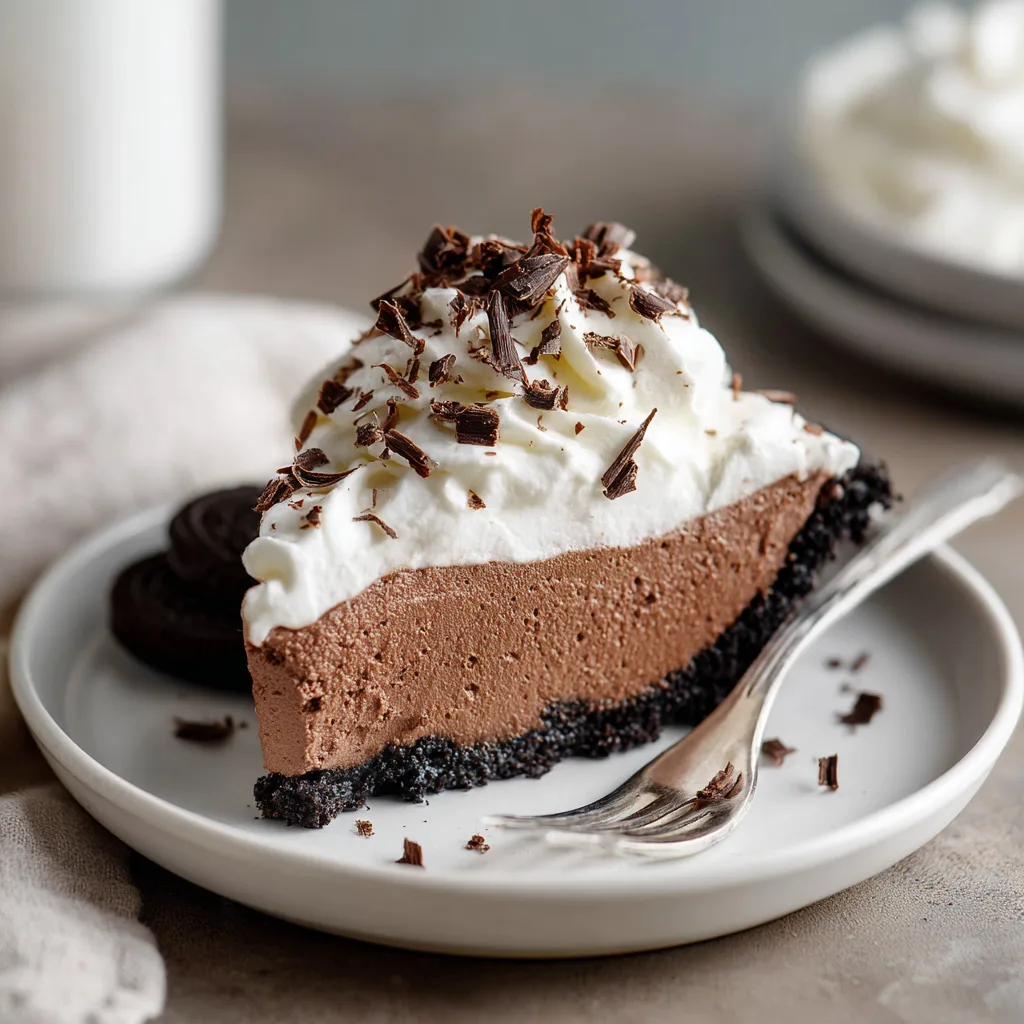
- Spoon the chocolate mousse filling into the chilled Oreo crust and smooth the top with a spatula.
- Refrigerate for at least 4 hours, or overnight for the perfect slice.
- Just before serving, decorate with whipped cream, chocolate shavings, or additional Oreo pieces if desired.
Texture, Flavor, & Why Each Ingredient Matters
Oreo Cookies
They bring cocoa depth and childhood nostalgia. Their filling adds natural binding to the crust—no extra sugar required.
Chocolate
Choose chocolate you love to eat. Smooth. Balanced. Something that melts on the tongue and feels warm and comforting. Semi-sweet is perfect because it holds richness without overwhelming sweetness.
Heavy Cream
This is the air, the lift, the cloud. Whipping cream adds lightness so the pie feels silky rather than dense.
Butter
In the crust, it binds crumbs into a structure. In the chocolate filling, it adds that glistening, melt-on-your-tongue finish.
Chilling & Patience (The Secret Ingredient)
This dessert needs time.
It needs hours to settle into itself, to firm, to become sliceable and smooth.
If you serve it too soon, the mousse will be soft and loose.
If you wait, even though it’s torture, it rewards you.
There is beauty in waiting for good things.
When to Serve This Pie
- Birthdays
- Romantic dinners at home
- Summer evenings
- Holiday dessert tables
- Family gatherings
- Quiet nights when comfort is needed
It pairs beautifully with:
- Cold milk
- Fresh coffee
- Hot chocolate (extra indulgence!)
Variations for Every Mood
| Variation | Add or Swap |
|---|---|
| Mint Mousse Pie | Add mint extract + garnish with mint Oreos |
| Peanut Butter Mousse Pie | Swirl in melted peanut butter before chilling |
| Triple Chocolate Pie | Use chocolate whipped cream + chocolate drizzle |
| Espresso Lovers Pie | Add instant espresso to the chocolate mixture |
How to Slice Perfectly
- Run a sharp knife under hot water.
- Wipe.
- Slice slowly.
- Wipe and repeat between each cut.
This prevents drag and keeps edges clean and luxurious.
Final Thoughts
This No-Bake Oreo Chocolate Mousse Pie is more than a recipe.
It’s a love letter to the small joys that sweeten life:
- The happiness of chocolate melting on your tongue
- The comfort of Oreos crushed into familiarity
- The soft, creamy quiet of mousse settling on your spoon
It’s the slice you eat at the kitchen counter.
Barefoot. Relaxed.
Knowing that sometimes the simplest things are the most beautiful.

No-Bake Oreo Chocolate Mousse Pie
Ingredients
Equipment
Method
- Place Oreo cookies in a food processor and pulse until finely ground. If you don’t have a processor, place cookies in a zip-top bag and crush with a rolling pin until fine crumbs form.
- Pour melted butter over the Oreo crumbs and stir until the mixture resembles slightly wet sand and holds together when pressed.
- Press the crumb mixture firmly and evenly into the bottom and up the sides of a 9-inch pie dish. Use the back of a measuring cup to compact the crust for a clean edge.
- Refrigerate the crust while preparing the mousse filling to allow it to set.
- Place the chocolate chips and 3 tablespoons butter in a heat-safe bowl. Melt gently in the microwave in 15-20 second bursts, stirring between bursts, until smooth. Allow to cool slightly but not harden.
- In a separate chilled bowl, whip the heavy cream with the powdered sugar and vanilla extract until soft peaks form using an electric mixer.
- Gently fold the cooled melted chocolate into the whipped cream in 2–3 additions, using a spatula and folding motions to keep the mixture airy and mousse-like.
- Spoon the chocolate mousse into the chilled Oreo crust, smoothing the top with an offset spatula.
- Cover the pie and refrigerate for at least 4 hours, or overnight, until the mousse is set and sliceable.
- Just before serving, garnish with extra whipped cream, chopped Oreos, and chocolate curls or drizzle if desired.