
Dark Chocolate Tart with Espresso Whipped Cream: Simple, Elegant, and Decadent
Few desserts deliver the combination of luxury, richness, and ease quite like a Dark Chocolate Tart. When paired with espresso whipped cream, this dessert elevates classic chocolate into a refined treat perfect for dinner parties, special occasions, or an indulgent weeknight dessert. Despite its gourmet appearance, this tart is surprisingly simple to make, requiring just a handful of quality ingredients and minimal steps.
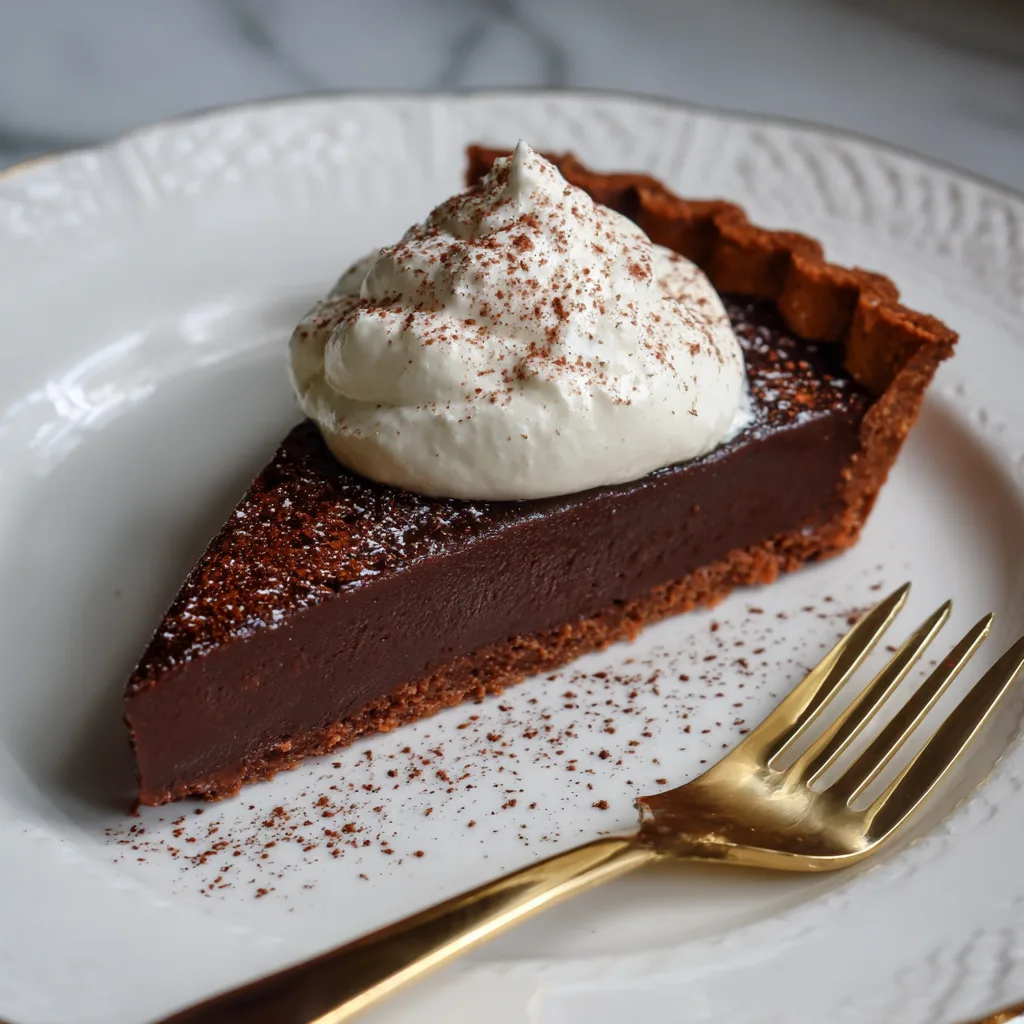
The velvety chocolate filling sits in a crisp, buttery tart shell, providing the perfect balance of textures. The espresso-infused whipped cream adds a subtle kick and aromatic complexity that complements the chocolate, making each bite sophisticated yet utterly comforting.
Why You’ll Love This Dark Chocolate Tart
- Elegant Presentation: Perfect for impressing guests or serving at a celebration.
- Quick and Simple: Minimal ingredients, no complicated techniques, yet gourmet results.
- Perfect Texture Balance: Crisp shell with a silky chocolate filling.
- Customizable Topping: Espresso whipped cream can be piped or dolloped, and garnished with chocolate shavings or cocoa powder.
- Make-Ahead Friendly: Tart can be prepared in advance and chilled until serving.
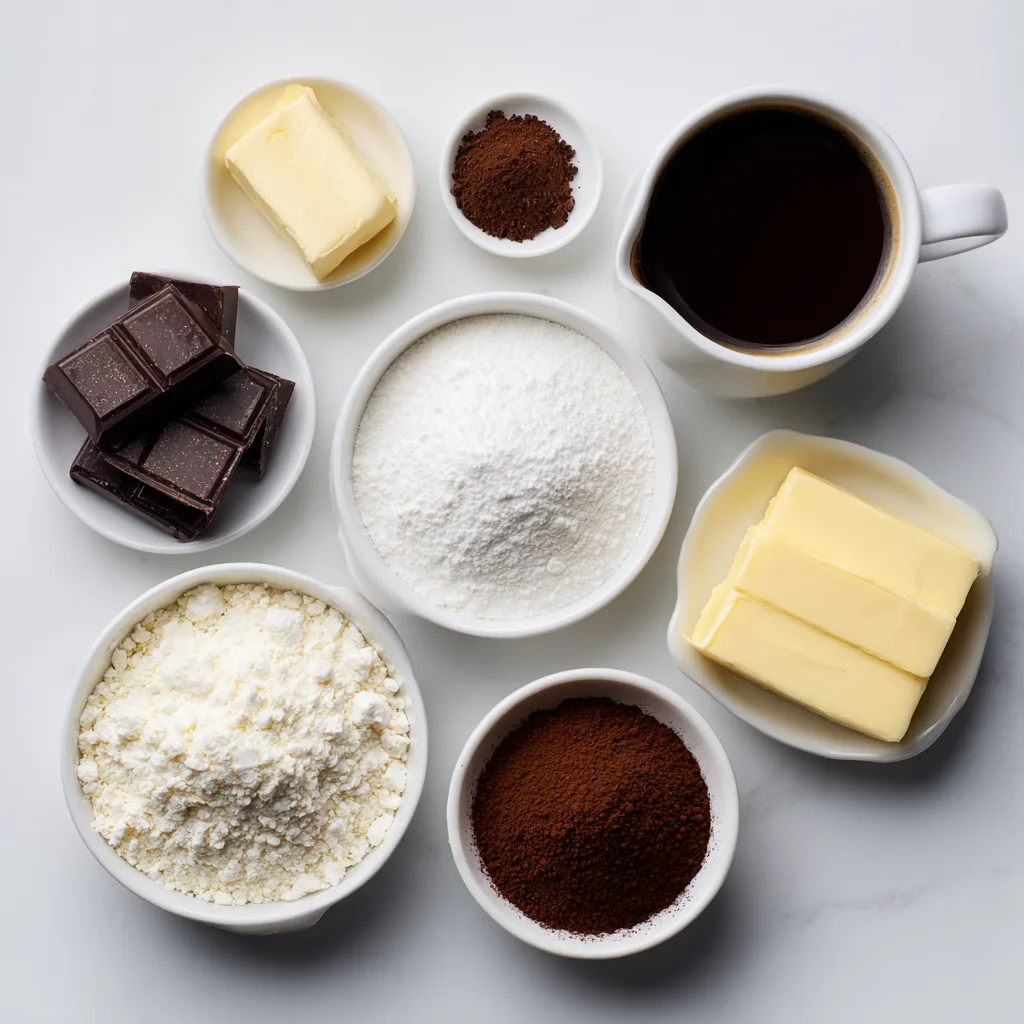
Ingredients
Tart Shell:
- 1 ¼ cups all-purpose flour
- ¼ cup powdered sugar
- ½ cup unsalted butter, cold and cubed
- ¼ tsp salt
- 1–2 tbsp cold water
Chocolate Filling:
- 8 oz dark chocolate (70% cacao), chopped
- ¾ cup heavy cream
- 2 tbsp unsalted butter
- 1 tsp vanilla extract
- Pinch of salt
Espresso Whipped Cream:
- 1 cup heavy cream, cold
- 1–2 tsp instant espresso powder
- 2 tbsp powdered sugar
- ½ tsp vanilla extract
Optional Garnishes:
- Chocolate shavings
- Cocoa powder
- Crushed espresso beans
Instructions
- Prepare Tart Shell: In a bowl, combine flour, powdered sugar, and salt. Cut in cold butter until mixture resembles coarse crumbs. Add cold water gradually until dough forms. Wrap and refrigerate for 30 minutes.
- Preheat Oven: Preheat oven to 350°F (175°C).
- Blind Bake: Roll dough to fit a 9-inch tart pan. Line with parchment paper and pie weights. Bake for 15 minutes, remove weights, and bake another 5 minutes until lightly golden. Cool completely.
- Make Chocolate Filling: In a small saucepan, heat heavy cream until just simmering. Pour over chopped dark chocolate in a heatproof bowl. Let sit 1–2 minutes, then whisk until smooth. Add butter, vanilla, and salt, stirring until incorporated.
- Assemble Tart: Pour chocolate filling into the cooled tart shell. Smooth top and refrigerate for at least 2 hours until set.
- Prepare Espresso Whipped Cream: In a chilled bowl, whisk heavy cream with espresso powder, powdered sugar, and vanilla until soft peaks form. Adjust sweetness to taste.
- Serve Tart: Pipe or dollop espresso whipped cream on top. Garnish with chocolate shavings or cocoa powder. Slice and enjoy.
Tips & Tricks
- High-Quality Chocolate: Use chocolate with at least 70% cacao for a rich, deep flavor.
- Chilling Filling: Allow tart to chill thoroughly for clean slices. Warm filling will be too soft.
- Whipped Cream Tips: Ensure heavy cream is very cold for better volume. Beat to soft peaks for light, airy cream.
- Decorative Touches: Use a fine sieve to dust cocoa powder or espresso powder over the whipped cream for elegance.
- Make-Ahead: Tart shell and chocolate filling can be prepared a day in advance; top with whipped cream just before serving.

Serving & Presentation Ideas
- Elegant Dinner Party: Slice tart and plate with a drizzle of chocolate sauce and fresh berries.
- Coffee Pairing: Serve alongside espresso or cappuccino for a luxurious dessert experience.
- Holiday Centerpiece: Garnish with gold dust or edible flowers for festive occasions.
- Dessert Buffet: Individual tartlets can be made in mini pans for bite-sized sophistication.
Fun Facts About Chocolate & Espresso
- Dark chocolate contains antioxidants and a rich flavor profile that pairs beautifully with the bold taste of coffee.
- Espresso in whipped cream enhances chocolate without overpowering it, offering a subtle complexity.
- Chocolate tarts have been enjoyed for centuries, and their elegant simplicity continues to make them a timeless dessert.

Dark Chocolate Tart with Espresso Whipped Cream
Elegant dark chocolate tart with a silky filling, topped with espresso-infused whipped cream — a simple yet luxurious dessert.
Ingredients
Equipment
Method
- Combine flour, powdered sugar, and salt for tart shell. Cut in butter until coarse crumbs form. Add cold water gradually. Wrap and refrigerate 30 minutes.
- Preheat oven to 350°F (175°C). Roll dough to fit tart pan. Blind bake 15 minutes with weights, then 5 minutes more. Cool.
- Heat cream until simmering. Pour over chopped chocolate and whisk until smooth. Stir in butter, vanilla, and salt.
- Pour chocolate filling into cooled tart shell. Refrigerate 2+ hours until set.
- Whip cream with espresso powder, powdered sugar, and vanilla until soft peaks form.
- Top tart with espresso whipped cream and garnish with chocolate shavings or cocoa powder before serving.
Notes
Use high-quality chocolate for best results. Whip cream just before serving for maximum fluffiness. Tart can be made a day ahead; top with whipped cream before serving.