CHRISTMAS PINWHEEL COOKIES
A Holiday Cookie Worth the Celebration
Every holiday season brings with it a rush of traditions — some new, some carried forward for generations. There are sparkling lights draped across rooftops, steaming mugs of cocoa, the unmistakable scent of cinnamon wafting through the air, and of course, the joy of baking cookies that feel like warmth and memory and celebration all wrapped into one.
Among the dozens of cookies that fill festive tins and Christmas platters, Christmas Pinwheel Cookies hold a special place. They’re the cookies that make people stop, smile, and ask, “How did you make these?” Brightly colored, impossibly cheerful, and surprisingly simple once you understand the method, pinwheel cookies are the hallmark of playful, creative holiday baking.
This is a cookie that rewards patience. It’s a cookie that looks like it took hours of intricate skill, but really just requires good dough, a rolling pin, and a little time in the refrigerator. And when you slice into that rolled log of red and green dough and reveal a perfect swirl, the satisfaction is undeniable. You can feel the magic of holiday baking settling in.
This long-form guide will teach you everything about making perfect Christmas Pinwheel Cookies: from understanding the science of sugar cookie dough, to preventing cracks, to getting clean, round slices, to choosing the best colorings, to storing and gifting them beautifully. Whether you’re a seasoned baker or a complete beginner, this recipe is accessible, fun, and festive.
Let’s explore everything you need to master these stunning Christmas cookies.
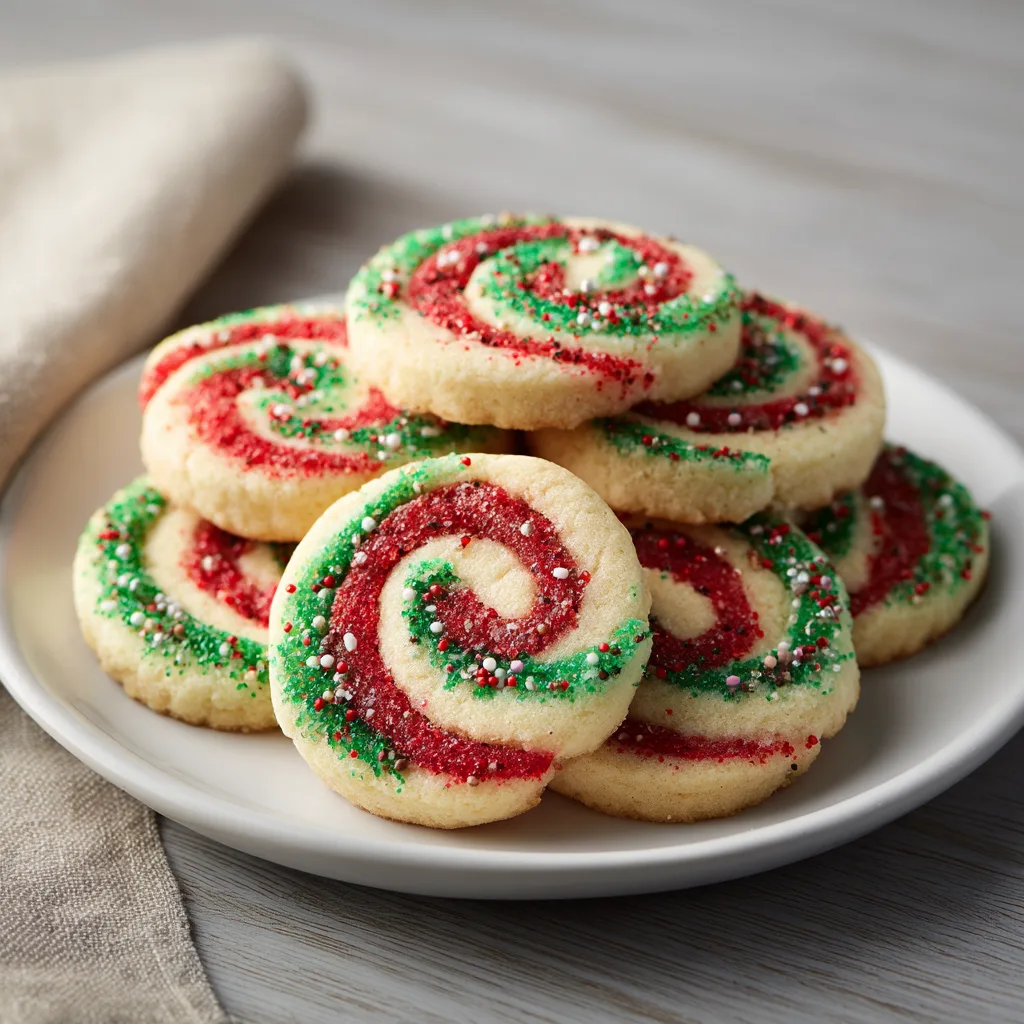
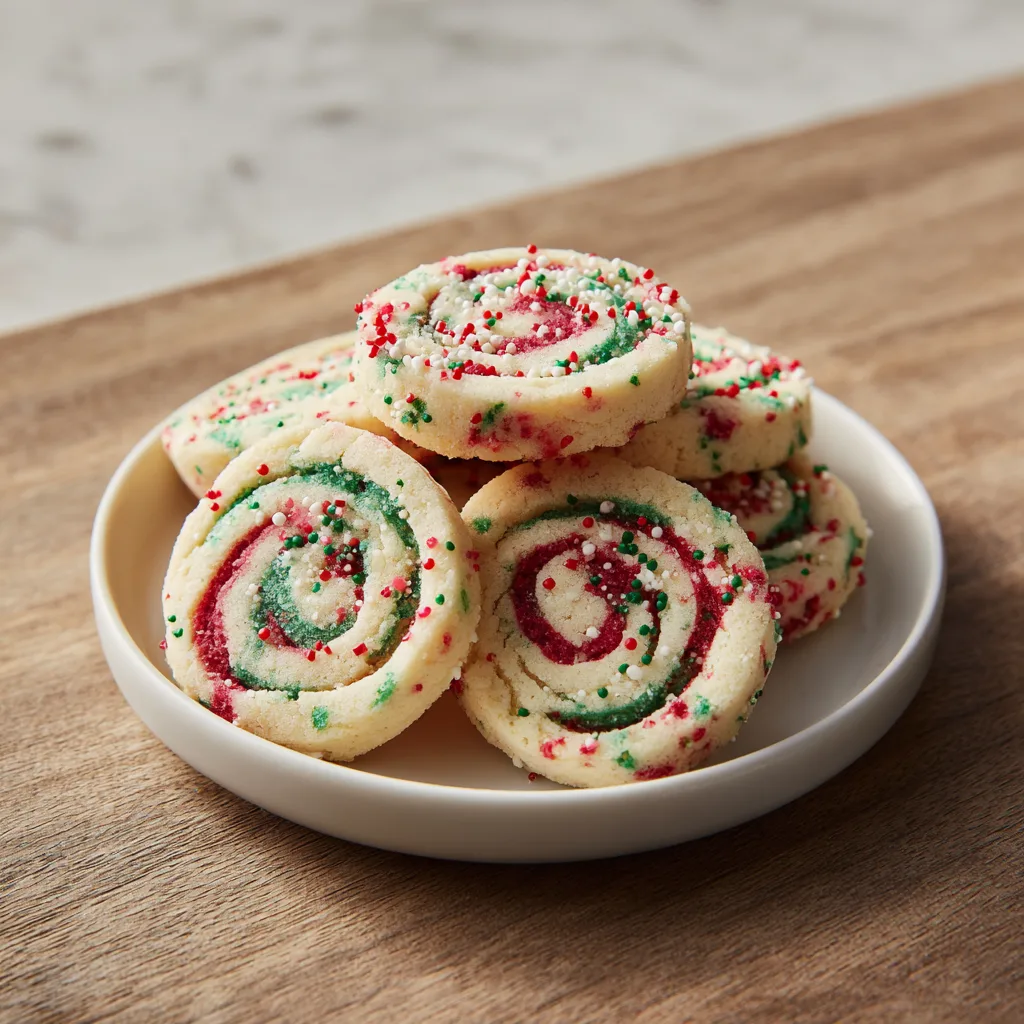
Festive, Colorful, Buttery, and Perfectly Swirled
These cookies begin with a classic buttery sugar cookie dough — soft, smooth, easy to roll, and flavored simply with vanilla so the colors shine. Once prepared, the dough is divided and tinted: traditionally one red layer and one green, though you can use any holiday color combination. The two dough sheets are layered, rolled tightly into a log, chilled, and sliced into beautiful spirals.
The result? A plate of cookies that looks like a holiday graphic come to life.
They’re perfect for:
- Christmas cookie exchanges
- Gifting in tins or bags
- School parties
- Christmas Eve dessert tables
- Santa cookie plates
- Freezer-friendly prep for stress-free baking
- Adding festive flair to assorted cookie boxes
And because the dough is a simple sugar cookie base, the flavor is universally appealing — a soft crunch at the edges, a buttery center, and just the right amount of sweetness.
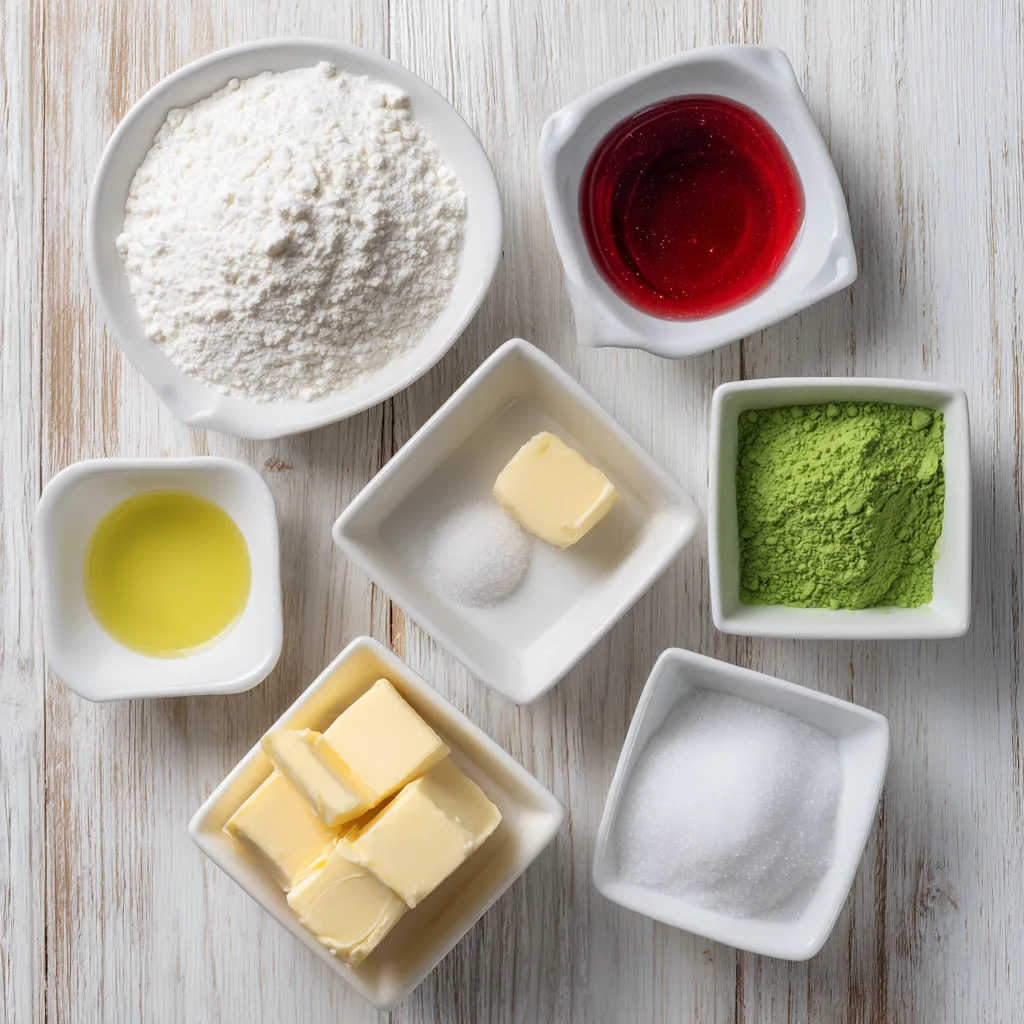
Ingredients
- 2 ¾ cups all-purpose flour
- 1 cup unsalted butter, softened
- 1 cup granulated sugar
- 1 large egg
- 1 teaspoon vanilla extract
- ½ teaspoon almond extract (optional for extra holiday aroma)
- ½ teaspoon baking powder
- ½ teaspoon salt
- Red gel food coloring
- Green gel food coloring
- Parchment paper (for rolling)
Instructions
1. Cream the butter and sugar
In a large mixing bowl, beat the softened butter and sugar together until light, fluffy, and pale in color. This step is crucial — proper aeration gives your cookies structure and tenderness.
2. Add the egg and extracts
Beat in the egg, vanilla extract, and almond extract (if using). Mix until fully combined and smooth.
3. Combine dry ingredients
In a separate bowl, whisk together the flour, baking powder, and salt.
4. Incorporate dry into wet
Add the dry mixture gradually into the butter mixture, mixing on low until a soft sugar cookie dough forms.
5. Divide the dough
Split the dough evenly into two bowls.
6. Color each portion
Tint one dough ball bright red and the other dough ball bright green using gel food colors (gel prevents excess moisture).
7. Roll each color flat
Between parchment sheets, roll each color into a rectangle roughly ¼-inch thick, trying to keep the sizes similar.
8. Layer the dough
Gently place the red dough slab on top of the green slab (or vice versa), removing parchment as needed.
9. Roll into a pinwheel log
Starting from a long edge, roll the layered dough tightly into a uniform log. Go slowly to avoid air gaps.
10. Chill the dough
Wrap the dough log in parchment or plastic wrap and refrigerate for at least 2 hours (overnight is ideal for clean slicing).
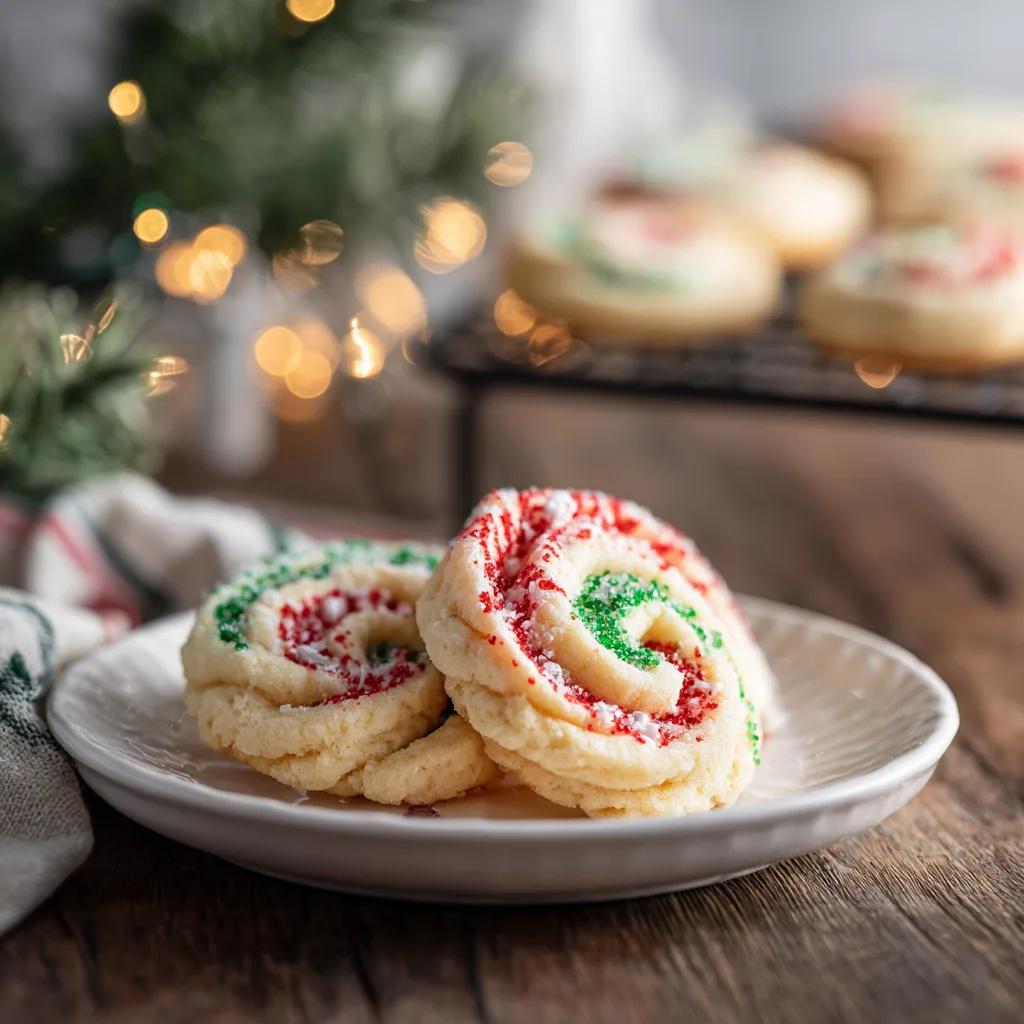
11. Slice the cookies
Using a sharp knife, cut the chilled log into ¼-inch slices. Rotate the log every few slices to maintain its round shape.
12. Bake
Arrange slices on a parchment-lined baking sheet. Bake at 350°F (175°C) for 9–12 minutes or until the edges are just barely set.
13. Cool and enjoy
Let cookies cool on the sheet for 5 minutes before transferring to a rack. They will firm as they cool.
Variations You Can Try
- Peppermint Pinwheels
- Chocolate & Red Velvet Spirals
- Rainbow Birthday Pinwheels
- Chocolate-dipped Pinwheel Cookies
- Sprinkle-coated edges
How to Store Christmas Pinwheel Cookies
- Room temperature: 1 week
- Refrigerator: 2 weeks
- Freezer (baked): 3 months
- Freezer (slice-and-bake log): 6 months
Christmas Pinwheel Cookies
Ingredients
Equipment
Method
- Cream the softened butter and granulated sugar together until light and fluffy.
- Add the egg, vanilla extract, and almond extract (optional); mix until combined.
- In a separate bowl, whisk together the flour, baking powder, and salt.
- Add dry ingredients to the wet mixture and blend until a soft dough forms.
- Divide dough into two equal portions; tint one red and the other green using gel food coloring.
- Roll each colored dough between parchment paper into evenly sized rectangles.
- Layer the two dough sheets, remove top parchment, and gently roll into a tight log.
- Chill the dough log for 2 hours or until firm enough to slice.
- Preheat oven to 350°F (175°C). Slice the chilled dough into 1/4-inch cookies.
- Place cookies on a parchment-lined baking sheet and bake for 9–10 minutes.
- Cool on a wire rack before serving.