
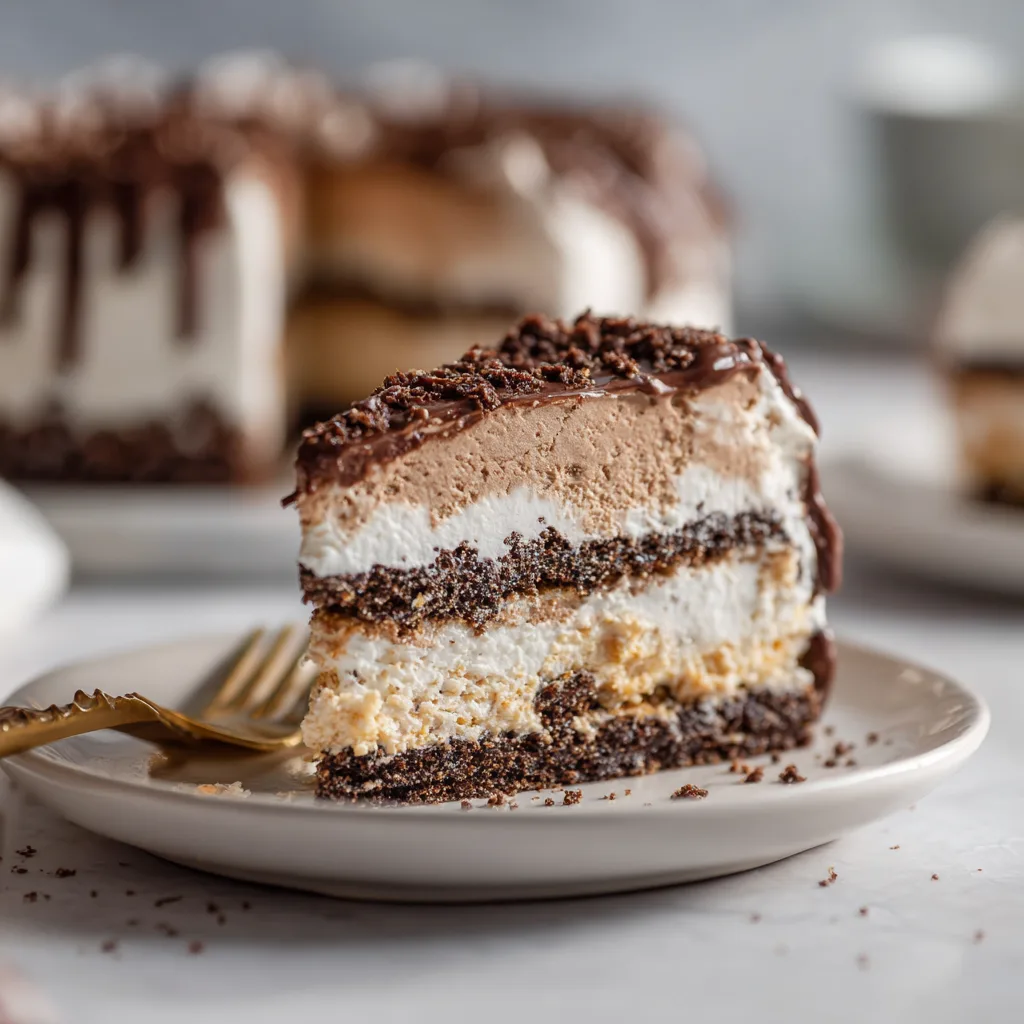
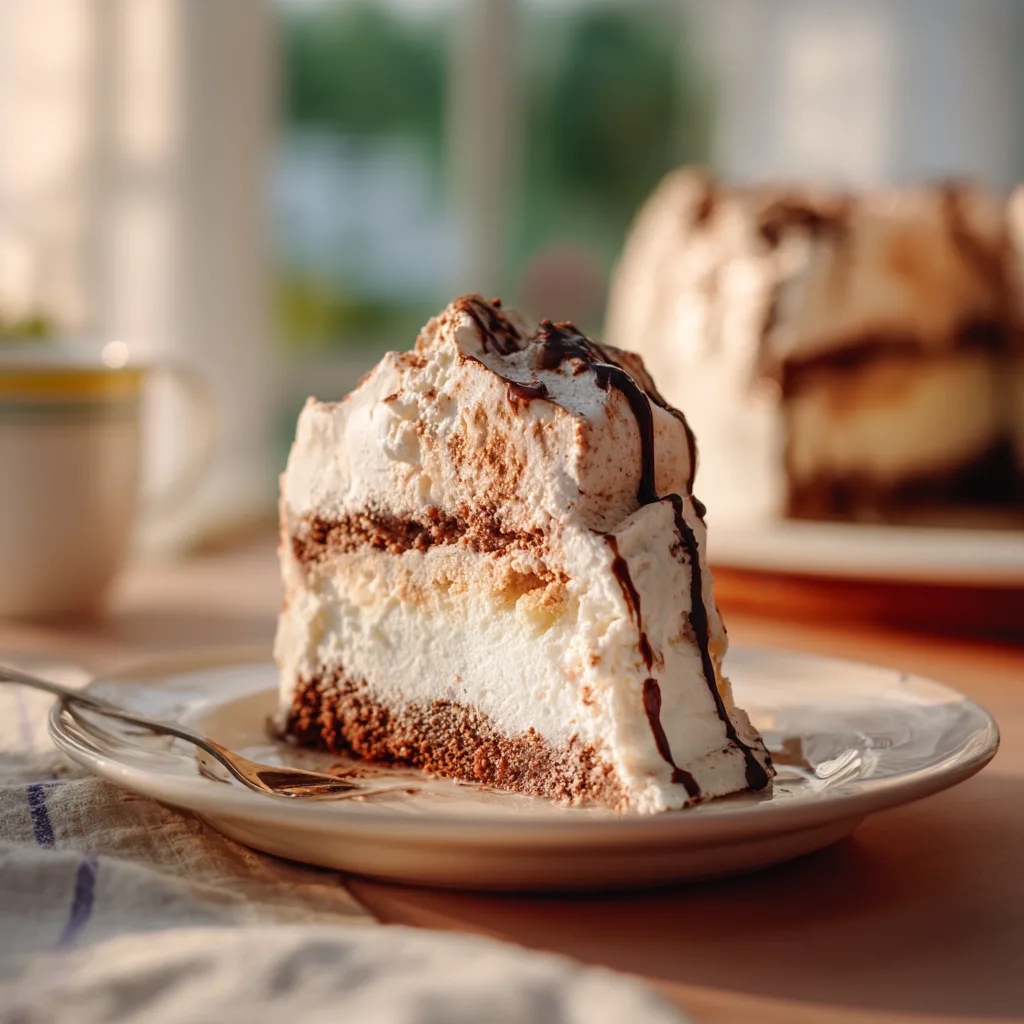
Best Homemade Gluten-Free Ice Cream Cake
Ice cream cake is a timeless dessert that steals the spotlight at birthdays, holidays, or summer celebrations. But for those following a gluten-free diet, finding a store-bought option that is safe and delicious can be challenging. That’s where this Best Homemade Gluten-Free Ice Cream Cake comes in. It’s rich, creamy, layered, and completely gluten-free, combining decadent ice cream, chocolate, and optional mix-ins to create a dessert that everyone will love.
Making a gluten-free ice cream cake at home gives you control over ingredients, sweetness, and texture. Plus, it’s a fun project for families and a great way to impress guests with a show-stopping dessert. By using gluten-free cookies or brownies as a base, layered ice cream, and optional toppings, you can create a dessert that is indulgent, safe, and perfectly suited to your taste.
Why This Gluten-Free Ice Cream Cake Works
The magic of this ice cream cake is in the layers:
- Gluten-free base: Whether you use gluten-free chocolate cookies, almond flour brownies, or a nut-based crust, the base is firm enough to support layers while remaining tender.
- Ice cream layers: Combining two or more flavors of ice cream adds visual interest and flavor contrast. Vanilla, chocolate, caramel, or strawberry work beautifully.
- Fudgy or crunchy layer: A layer of melted chocolate or chocolate ganache adds richness and texture.
- Optional toppings: Whipped cream, nuts, sprinkles, or chocolate shavings add festive flair.
This combination ensures that every slice delivers a delightful contrast of textures: creamy, crunchy, fudgy, and soft all at once.
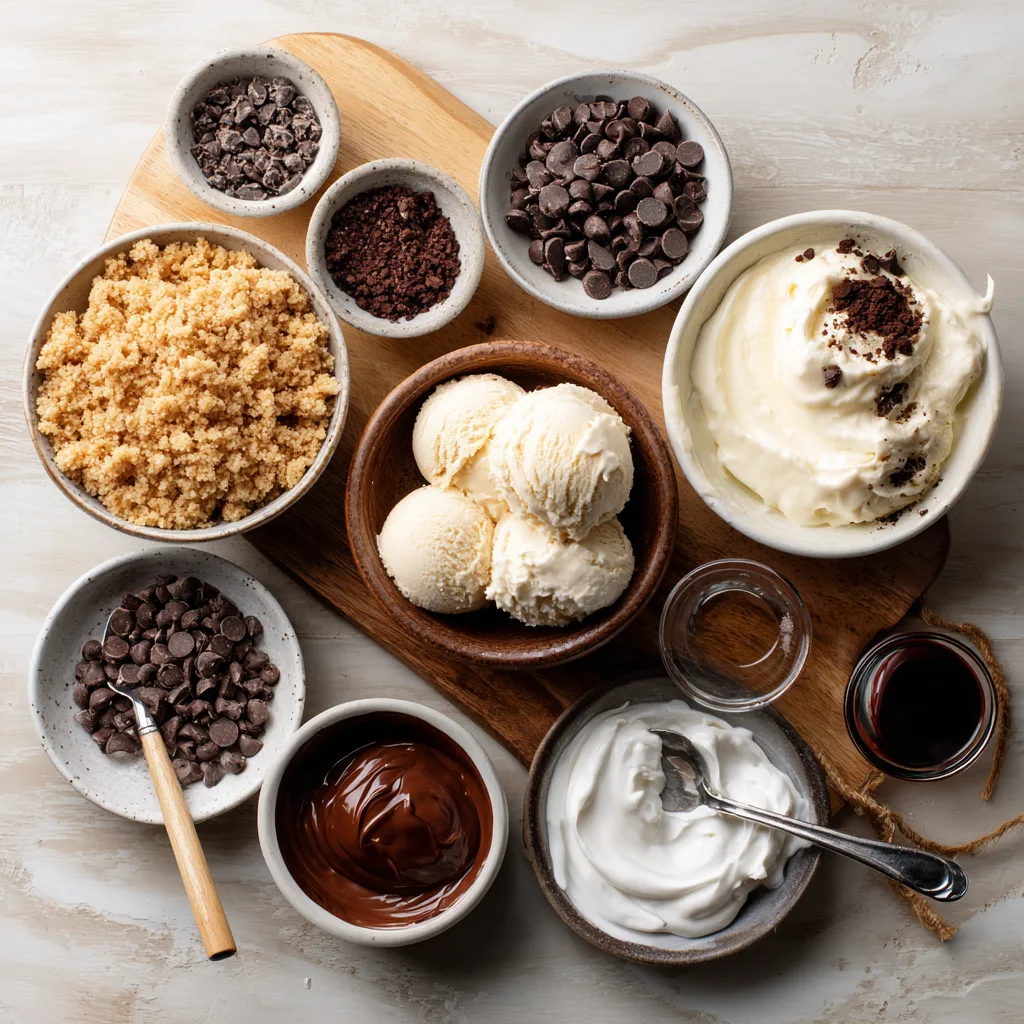
Ingredients
For the cake, you will need:
- 1 1/2 cups gluten-free chocolate cookies, crushed
- 1/4 cup unsalted butter, melted
- 2 cups ice cream, softened (any flavors you like)
- 1/2 cup chocolate ganache (optional, for a rich layer)
- Whipped cream, sprinkles, or nuts (optional, for decoration)
Tip: Make sure all toppings and cookies are certified gluten-free to avoid cross-contamination.
Instructions
- Prepare the crust: Mix crushed gluten-free cookies with melted butter until crumbs are evenly coated. Press the mixture into the bottom of a 9-inch springform pan to form a firm base.
- Freeze the crust: Place the pan in the freezer for 10–15 minutes to firm up the crust.
- Add first ice cream layer: Spread softened ice cream evenly over the crust. Smooth with a spatula. Freeze for 30–45 minutes until firm.
- Add chocolate layer (optional): Pour ganache or melted chocolate over the first ice cream layer and return to freezer for 15 minutes.
- Add second ice cream layer: Spread another flavor of softened ice cream evenly on top. Freeze for at least 2 hours or overnight for best results.
- Decorate: Before serving, top with whipped cream, sprinkles, chocolate shavings, or nuts as desired.
- Slice and serve: Use a sharp knife dipped in hot water for clean cuts. Serve immediately.
Pro Tip: For an extra festive look, pipe whipped cream around the edges and create a decorative swirl with chocolate drizzle.
Tips for a Perfect Ice Cream Cake
- Soften ice cream slightly: Softened ice cream spreads more easily without melting the crust.
- Use a springform pan: This allows easy removal without damaging layers.
- Freeze thoroughly: Patience is key—freezing each layer ensures neat slices.
- Customize flavors: Try chocolate-vanilla, cookies & cream, or strawberry cheesecake combos.
- Add texture: Include cookie pieces, caramel swirls, or chopped nuts between layers.
Why Gluten-Free Doesn’t Mean Flavor-Free
Many gluten-free desserts lack the texture or richness of traditional baked goods. This ice cream cake proves that you can have indulgence without gluten:
- Crunchy crust: Cookie or nut bases give structure and crunch.
- Creamy ice cream: Rich, high-quality ice cream provides velvety texture.
- Chocolate layers: Optional ganache or fudge enhances flavor complexity.
You don’t sacrifice flavor, texture, or presentation. Everyone, gluten-free or not, will be asking for seconds.
Creative Variations
- Birthday Version: Add colorful sprinkles and piped whipped cream around edges for a festive look.
- Nutty Delight: Mix chopped pecans or almonds into the crust or ice cream layer.
- Fruit Layer: Add thin layers of fruit puree or jam between ice cream layers for added flavor.
- Chocolate Lovers: Use double chocolate ice cream or chocolate fudge layers for ultimate richness.
- Mini Cakes: Make individual servings in ramekins or silicone molds for parties.
Hosting Ideas
- Summer Parties: Serve as a refreshing dessert after barbecues.
- Holiday Gatherings: Layer with red and green ice cream flavors or festive toppings.
- Birthday Celebration: Customize with candles and decorations for a show-stopping centerpiece.
- Ice Cream Bar: Let guests choose their own toppings for a DIY experience.

Candy Cane Puppy Chow
Ingredients
Equipment
Method
- Place Chex cereal in a large bowl.
- Melt white chocolate in the microwave until smooth.
- Stir in peppermint extract.
- Pour chocolate over cereal and toss to coat.
- Add crushed candy canes.
- Transfer to bag, add powdered sugar, and shake to coat.
- Spread on parchment to cool and dry.