
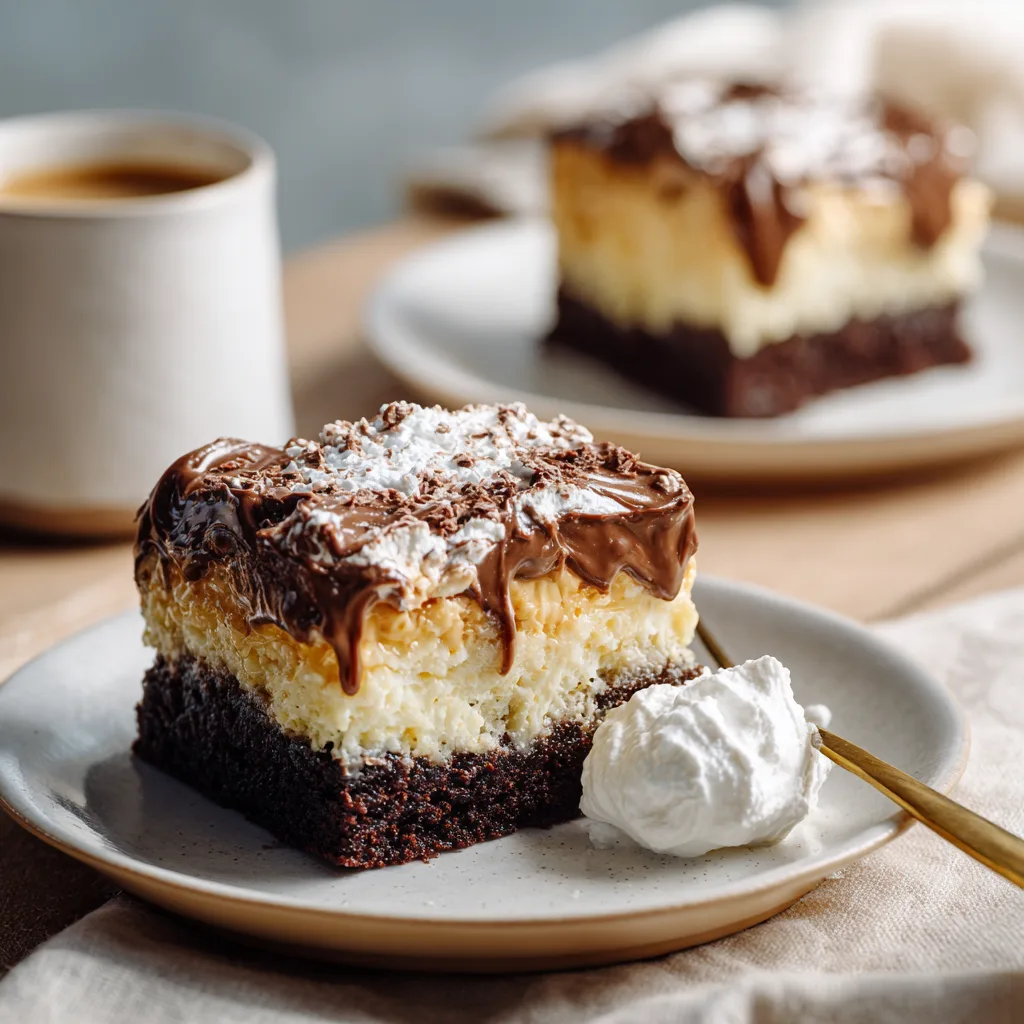
Chocolate Peanut Butter Poke Cake (Classic & Creamy)
Few desserts manage to balance indulgence, nostalgia, and ease like a chocolate peanut butter poke cake. It’s a dessert that evokes memories of birthday parties, cozy evenings at home, and celebratory gatherings. The magic comes from “poking” the cake after baking, allowing creamy peanut butter filling to seep into moist chocolate layers, creating pockets of rich, melt-in-your-mouth bliss.
Using a boxed chocolate cake mix keeps the recipe approachable without sacrificing flavor. What you gain is speed, consistency, and foolproof success—perfect for a last-minute dessert or a crowd-pleasing centerpiece. When paired with a smooth whipped cream topping or a drizzle of chocolate ganache, this cake becomes an irresistible centerpiece for any occasion.
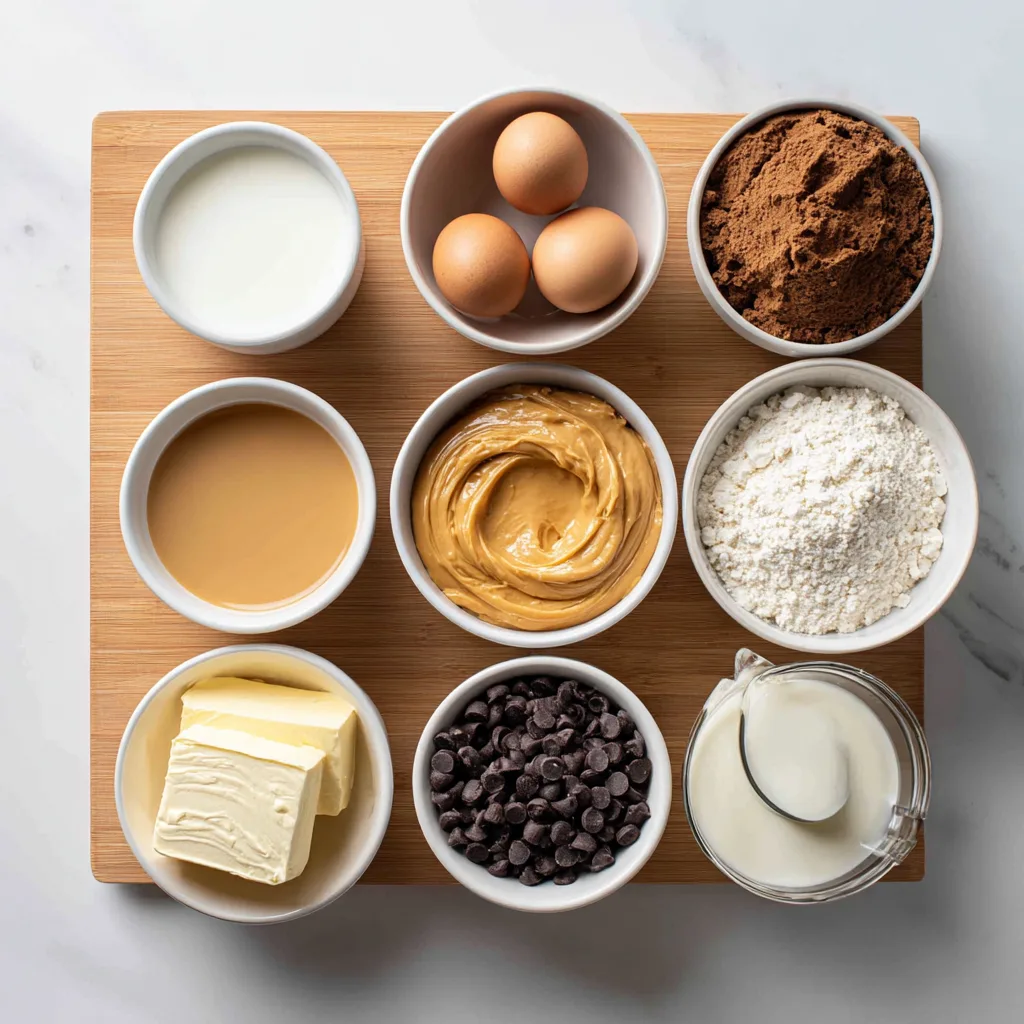
Ingredients
– 1 box (15.25 oz) chocolate cake mix
– Ingredients listed on box (usually eggs, water, vegetable oil)
– 1 cup creamy peanut butter
– 1 can (14 oz) sweetened condensed milk
– 1 teaspoon vanilla extract
– 1 cup heavy whipping cream
– 2 tablespoons powdered sugar
– ½ cup mini chocolate chips
– Optional: chopped peanuts or chocolate shavings for garnish
Instructions
- Preheat the oven:
Set oven to 350°F (175°C). Grease a 9×13-inch baking pan with butter or nonstick spray. - Prepare the cake mix:
In a large bowl, combine chocolate cake mix with the eggs, oil, and water according to box instructions. Mix until smooth and uniform. - Bake the cake:
Pour batter into the prepared pan and bake for 30–35 minutes, or until a toothpick inserted in the center comes out clean. Let it cool slightly for 10 minutes. - Poke the cake:
Using the handle of a wooden spoon or a skewer, poke holes evenly across the surface of the cake, about 1 inch apart. - Prepare the peanut butter filling:
In a small microwave-safe bowl, gently warm peanut butter for 20–30 seconds until slightly softened. Mix with sweetened condensed milk and vanilla extract until smooth. - Fill the holes:
Pour the peanut butter mixture over the cake, spreading it gently to allow it to seep into the poked holes. Press lightly with a spatula to encourage penetration. - Whip the cream:
In a chilled bowl, whip heavy cream with powdered sugar until stiff peaks form. - Top the cake:
Spread whipped cream evenly over the top of the cake. Sprinkle mini chocolate chips on top. For extra flair, add chopped peanuts or chocolate shavings. - Chill before serving:
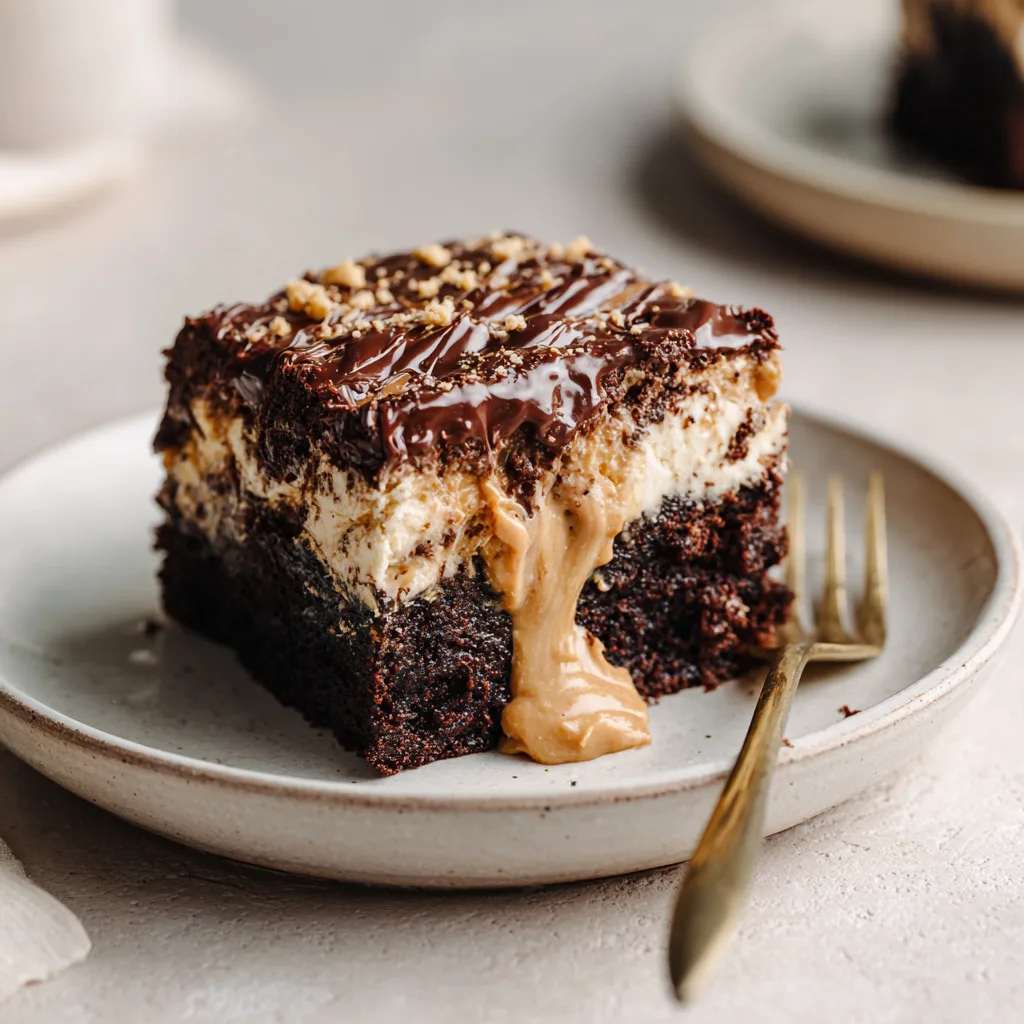
Refrigerate the cake for at least 2 hours to allow flavors to meld and the filling to set. - Serve & enjoy:
Slice generously and watch as the gooey peanut butter pockets surprise each bite.
Chef’s Tips & Tricks
- Room temperature ingredients: Ensure eggs, peanut butter, and cream are at room temperature for smooth mixing.
- Even poking: Use a systematic grid pattern to ensure every slice gets creamy pockets.
- Whipped cream stability: Chill your mixing bowl and beaters for longer-lasting whipped cream.
- Garnish creatively: A light dusting of cocoa powder adds a professional touch.
Make-Ahead & Storage
- Prepare a day ahead: This cake improves in flavor if refrigerated overnight.
- Store leftovers: Cover tightly with plastic wrap and refrigerate up to 4 days.
- Freeze option: Wrap in foil and freeze up to 2 months; thaw in the refrigerator before serving.
Serving Suggestions
- Pair with a tall glass of milk for nostalgic comfort.
- Serve with fresh berries or sliced bananas for a fruity contrast.
- Top with drizzled chocolate ganache for a celebratory touch.
- Slice into party-sized squares for potlucks or gatherings.
Variations to Try
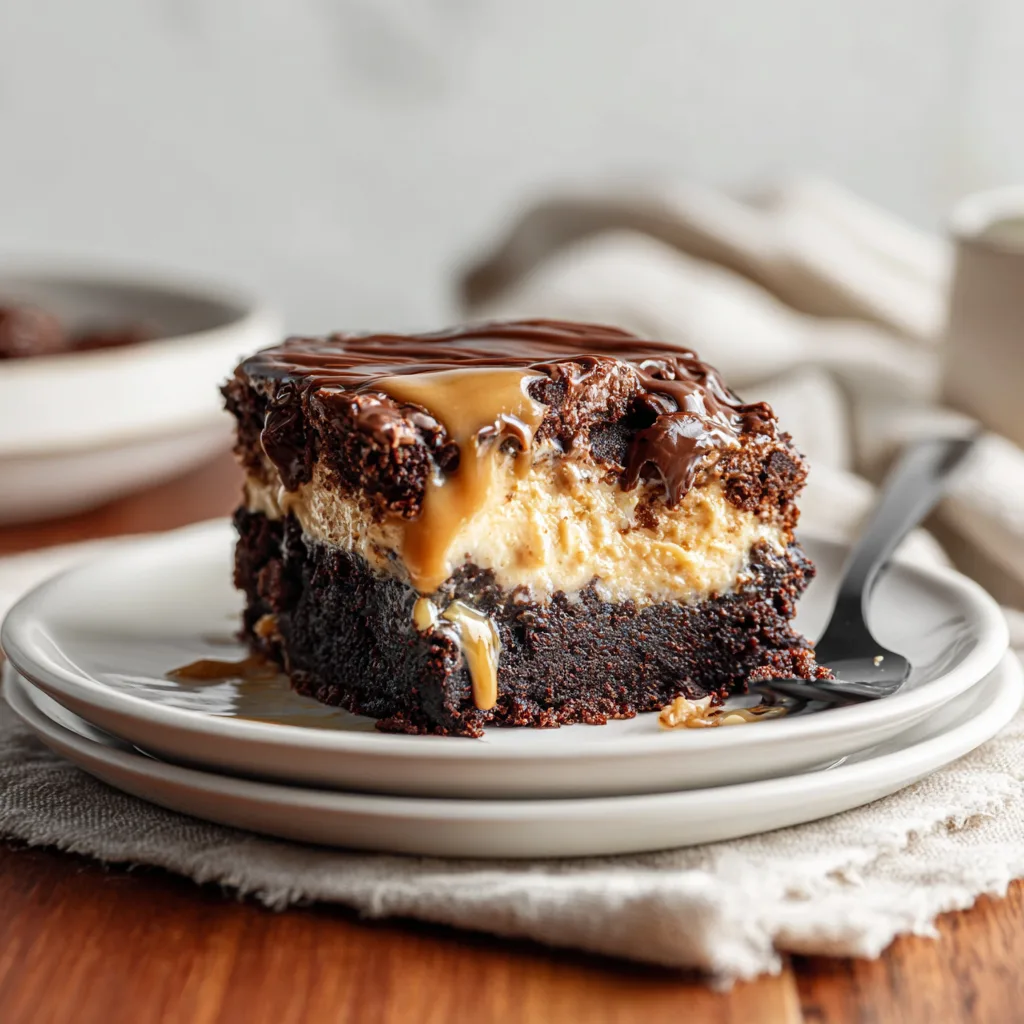
- Salted Caramel Peanut Butter Cake: Drizzle caramel over the whipped cream.
- Chocolate-Peanut Butter Cup Cake: Fold in chopped peanut butter cups into the filling.
- Vegan-friendly: Substitute condensed milk and whipped cream with coconut milk versions.
- Nut-free: Replace peanut butter with sunflower seed butter for allergy-friendly options.
Chocolate Peanut Butter Poke Cake
Ingredients
Equipment
Method
- Preheat oven to 350°F (175°C) and prepare a 9×13 inch baking dish.
- Mix chocolate cake ingredients until smooth and pour into baking dish.
- Bake 28–32 minutes or until a toothpick comes out clean.
- Cool for 10–15 minutes, then poke holes evenly across the cake.
- Prepare peanut butter filling by mixing peanut butter, whipped topping, milk, powdered sugar, and vanilla until smooth.
- Pour peanut butter filling over cake, spreading gently and ensuring it seeps into all holes.
- Chill in the refrigerator for 1–2 hours to set.
- Garnish with chocolate shavings and optional peanut drizzle before serving.
Notes
Fun Fact
The concept of “poke cakes” originated in the 1970s as a way to create desserts with extra flavor and texture, allowing fillings like pudding, caramel, or peanut butter to sink into a baked cake, elevating its richness and moistness.
Why You’ll Love This Cake
- Rich & creamy: Every slice has pockets of peanut butter goodness.
- Easy & foolproof: Boxed cake mix keeps it simple without sacrificing flavor.
- Versatile: Perfect for birthdays, potlucks, or indulgent family nights.
- Eye-catching: The whipped cream and chocolate chip topping make it visually stunning.