Halloween Candy Corn Fudge Squares That Wow
Few treats can match the pure nostalgia and whimsy of candy corn during Halloween season — those vibrant orange, yellow, and white triangles that fill trick-or-treat bags and memories alike. Now imagine that iconic Halloween candy reborn as a melt-in-your-mouth fudge that dazzles both visually and flavor-wise. That’s exactly what Halloween Candy Corn Fudge Squares deliver: creamy, buttery white chocolate fudge layered in candy corn colors that capture the spirit of October in every bite.
This is not just another Halloween recipe — it’s a celebration of color, sweetness, and creativity. Whether you’re hosting a spooky soirée, making edible gifts, or just satisfying your sweet tooth, these fudge squares are a showstopper. With only a handful of ingredients and no candy thermometer needed, this fudge is ideal for both beginners and seasoned candy makers.
The Inspiration Behind the Magic
Every Halloween, the air fills with the scent of caramel apples, pumpkin spice, and the unmistakable joy of candy corn. Many of us grew up sorting through trick-or-treat bags, sneaking bites of the classic tricolor candy — love it or not, candy corn is undeniably part of the season’s charm.
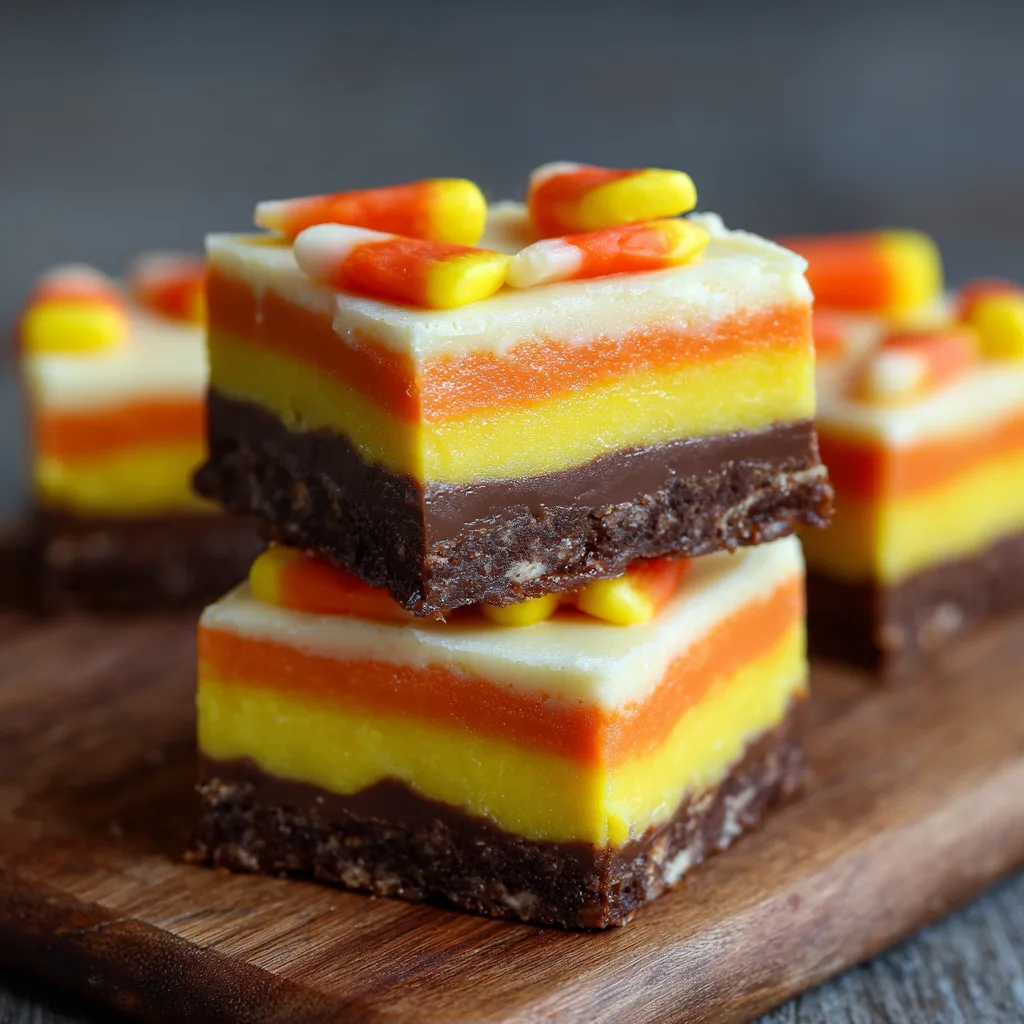
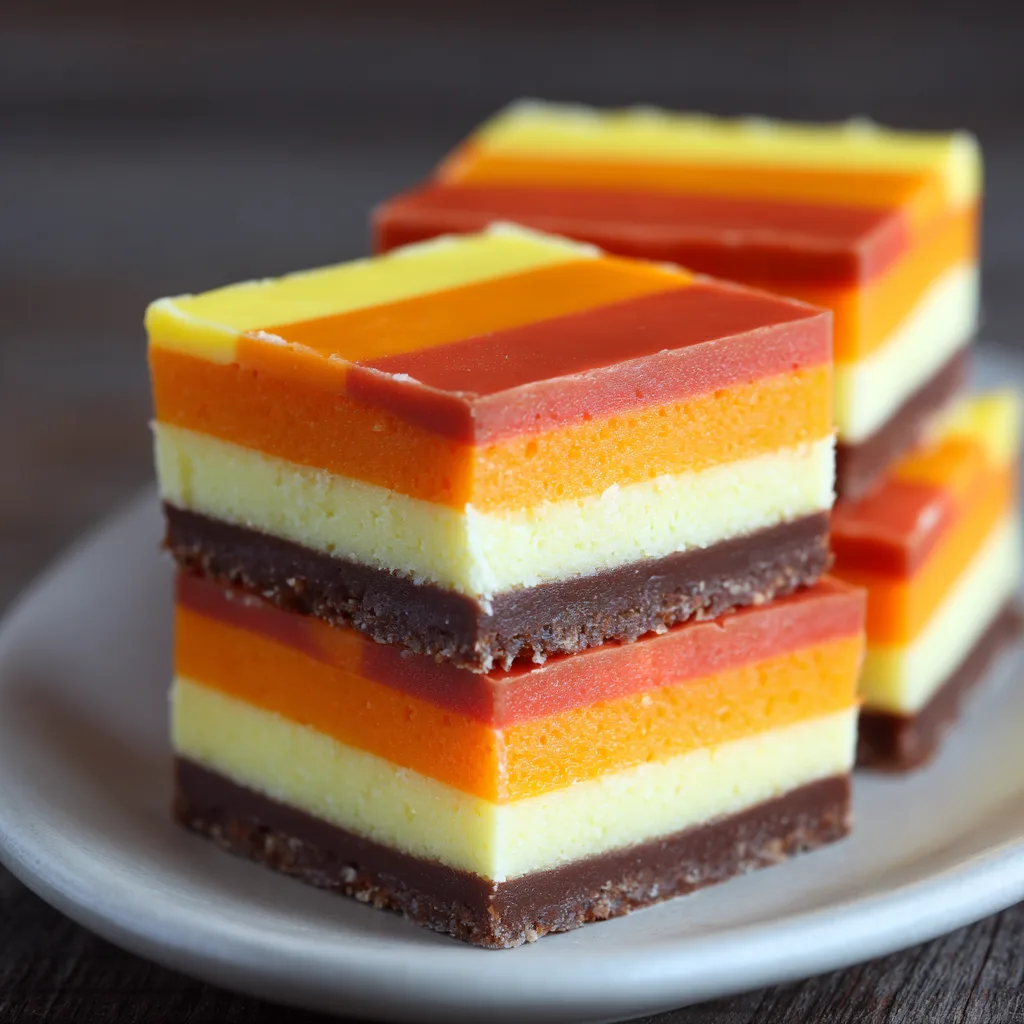
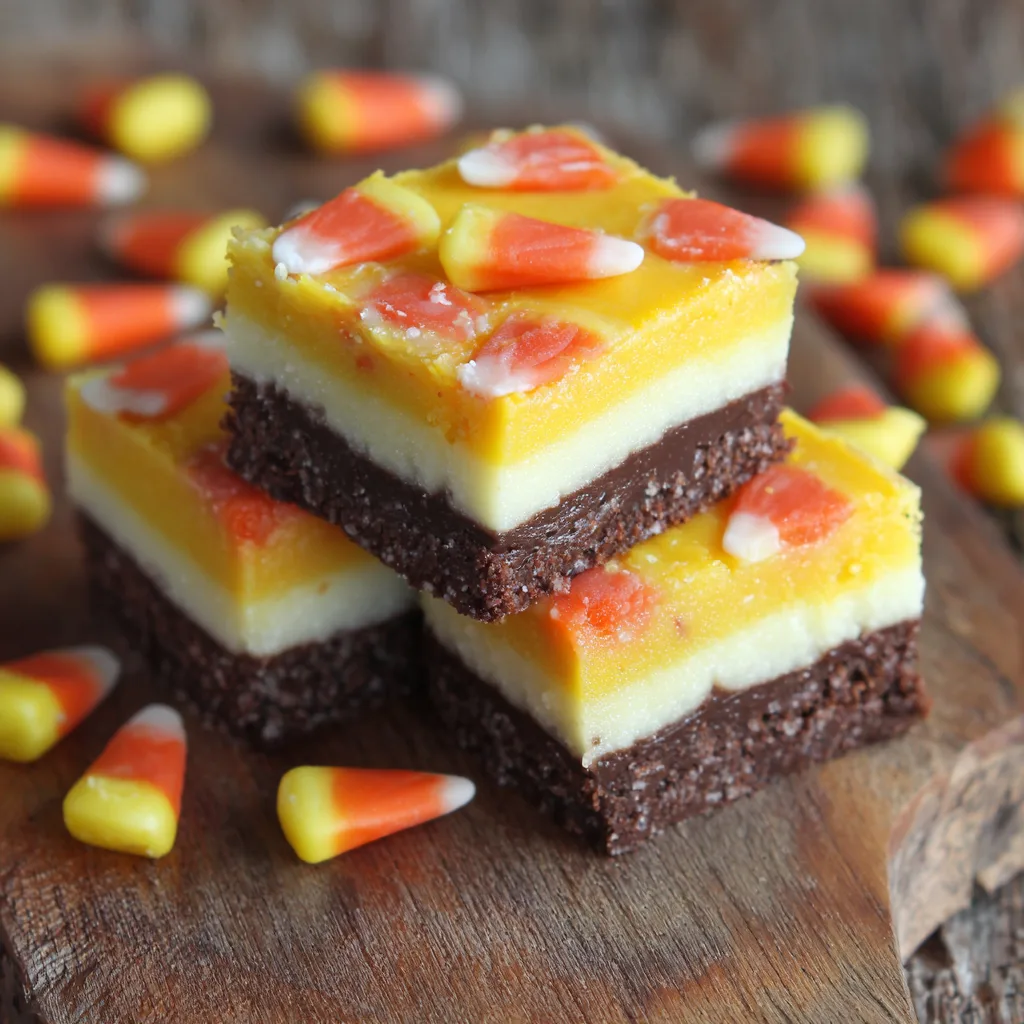
This fudge transforms that nostalgic treat into something elevated yet familiar: a smooth, rich fudge that melts on your tongue with notes of vanilla and cream. Each layer represents the colors of the candy corn — white for the creamy top, orange for the pumpkin-hued middle, and yellow for the sunny base. The result is a dessert that looks stunning on a platter and tastes like a dreamy bite of Halloween nostalgia.
Why This Recipe Works
- No complicated candy-making steps. This fudge relies on condensed milk and white chocolate — foolproof and quick.
- Perfect color and texture balance. Each layer sets evenly, creating sharp, vibrant stripes.
- Customizable flavor. You can infuse layers with vanilla, orange zest, or candy extracts.
- Stores beautifully. Keeps its texture and color for days when refrigerated.
- Party-perfect presentation. These squares look gorgeous on Halloween dessert tables or wrapped as gifts.
Flavor & Texture
Think of this fudge as white chocolate meets candy corn nostalgia. The flavor is creamy, buttery, and just sweet enough without overpowering your palate. The texture is smooth and dense, but soft enough to bite through easily — no hard or grainy sugar crystals here. The sweetness of the condensed milk perfectly complements the cocoa butter richness from the chocolate.
When you take your first bite, the tri-layered candy corn illusion plays with your senses — silky white chocolate at the top, a bright pop of orange in the middle, and buttery yellow at the base. It’s like eating Halloween cheer in confection form.
Creative Serving Ideas
- Cut into tiny bite-size cubes and serve on a Halloween-themed tray.
- Wrap individual squares in clear cellophane with black-and-orange ribbons for party favors.
- Use as topping on vanilla cupcakes or ice cream sundaes.
- Create a “Candy Corn Fudge Tower” by stacking alternating squares in a pyramid shape for your dessert table centerpiece.
- Pair with a pumpkin spice latte or a mug of hot cocoa for the perfect fall treat moment.
Ingredients
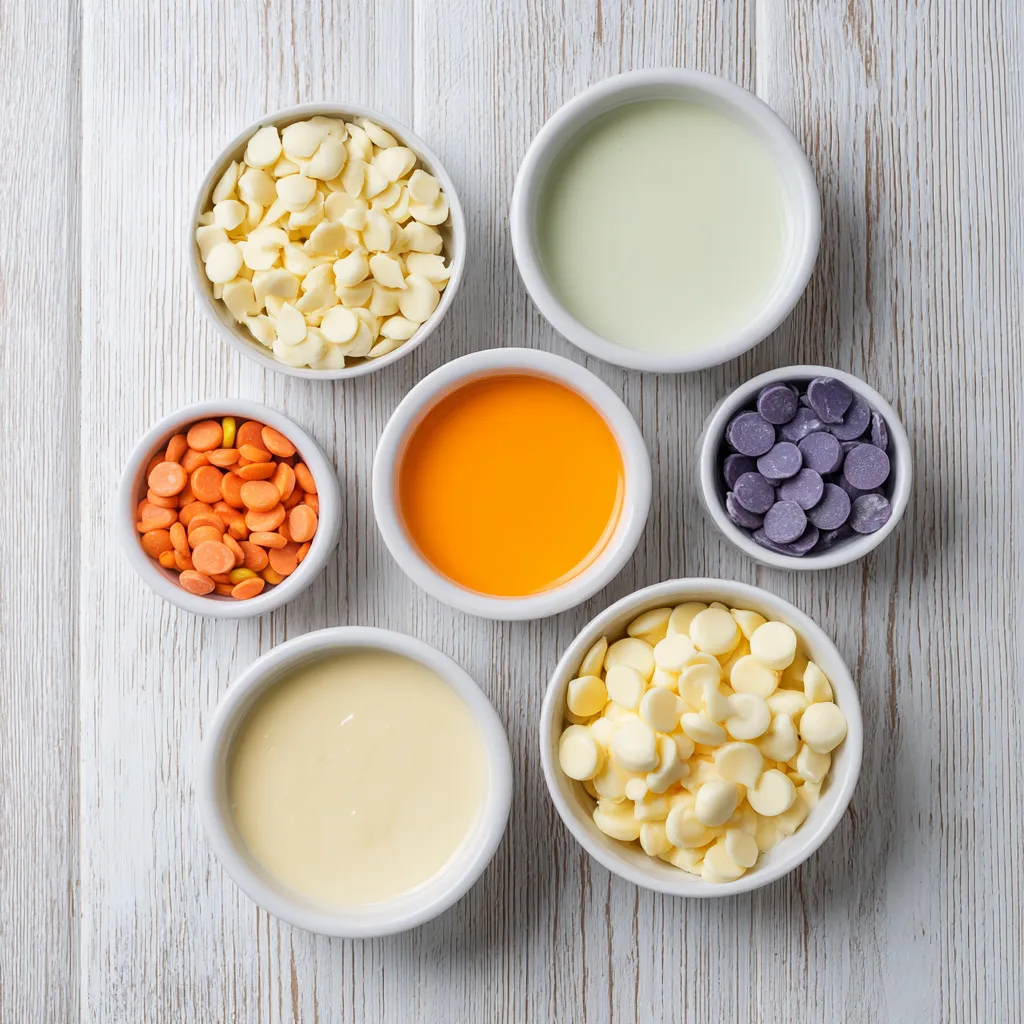
— Candy Corn Fudge Base
- — 3 cups white chocolate chips
- — 1 can (14 ounces) sweetened condensed milk
- — 2 teaspoons pure vanilla extract
- — Food coloring (orange and yellow)
- — 1 tablespoon unsalted butter (for greasing pan)
- — Pinch of salt
- — Optional: 1 cup candy corn pieces for topping
Instructions
- Prepare the pan.
Line an 8×8-inch square baking dish with parchment paper, leaving overhang for easy lifting. Lightly butter the sides to prevent sticking. - Melt the base mixture.
In a medium saucepan, combine white chocolate chips and sweetened condensed milk. Stir over low heat until smooth and fully melted. - Add vanilla and salt.
Remove from heat, stir in vanilla extract and a pinch of salt to balance sweetness. - Divide the mixture.
Pour the melted fudge into three equal bowls. - Tint each layer.
- Leave one bowl white (top layer).
- Add orange food coloring to the second bowl.
- Add yellow food coloring to the third bowl. Stir each until uniform in color.
- Layer the fudge.
Pour the yellow layer into the prepared pan first and spread evenly. Chill for 10–15 minutes to partially set. - Add the orange layer.
Spread orange fudge over the yellow layer carefully with a spatula. Chill again for 10–15 minutes. - Top with white layer.
Spread the white fudge evenly on top. Smooth the surface gently. - Optional candy corn topping.
Press candy corn pieces gently into the top layer before it sets. - Chill to set.
Refrigerate for 2–3 hours or until completely firm. - Cut and serve.
Lift the fudge using the parchment overhang. Slice into small squares using a warm knife for clean edges. - Store properly.
Keep in an airtight container in the refrigerator for up to 2 weeks.
Tips for Perfect Fudge
- Use good-quality white chocolate; chips that contain cocoa butter melt smoother.
- Stir constantly while melting to avoid scorching.
- Don’t skip the chill between layers — it keeps the colors distinct.
- For an extra Halloween twist, add edible glitter or orange sprinkles.
- To make vegan, substitute coconut condensed milk and vegan white chocolate.
Fun Halloween Variation Ideas
- Monster Swirl Fudge:
Instead of clean layers, swirl orange, purple, and green fudge together for a spooky marbled effect. - Cookies & Corn Fudge:
Add crushed vanilla sandwich cookies between layers for extra texture. - Pumpkin Spice Fudge:
Add ½ teaspoon pumpkin pie spice to the orange layer. - Chocolate Candy Corn Fudge:
Replace the yellow layer with melted milk chocolate fudge for a two-tone twist.
Storage & Make-Ahead Tips
This fudge keeps perfectly for Halloween parties made up to a week ahead. Store it in an airtight container layered with wax paper to prevent sticking. You can also freeze it for up to 3 months — just thaw overnight in the fridge before serving.
Final Thoughts
Halloween Candy Corn Fudge Squares are not just a dessert — they’re an edible work of art that captures the essence of the season. From their cheerful colors to their creamy texture, these squares make every bite a reminder of what makes Halloween so fun: color, sweetness, and joy.
Make a batch, share it, and watch your guests’ faces light up with delight — because these fudge squares truly wow.
Halloween Candy Corn Fudge Squares
Ingredients
Equipment
Method
- Line an 8×8-inch pan with parchment paper and butter lightly.
- Melt white chocolate chips and condensed milk together in a saucepan over low heat until smooth.
- Stir in vanilla extract and a pinch of salt.
- Divide the mixture into three equal bowls.
- Color one bowl yellow, one orange, and leave one white.
- Spread yellow fudge in the pan and chill for 10 minutes.
- Layer orange fudge on top, chill again.
- Finish with the white layer and smooth the top.
- Optional: press candy corn pieces into the top layer.
- Chill 2–3 hours or until firm, then cut into squares.