
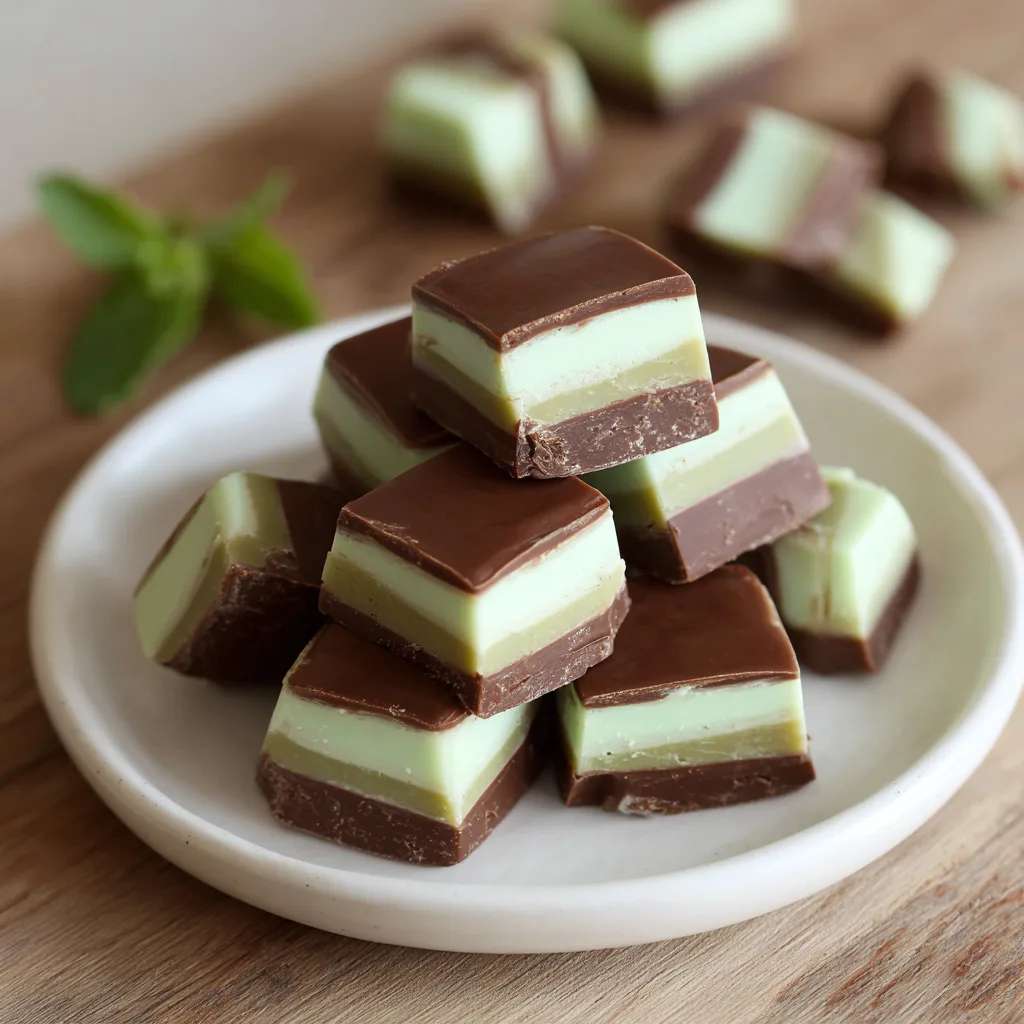
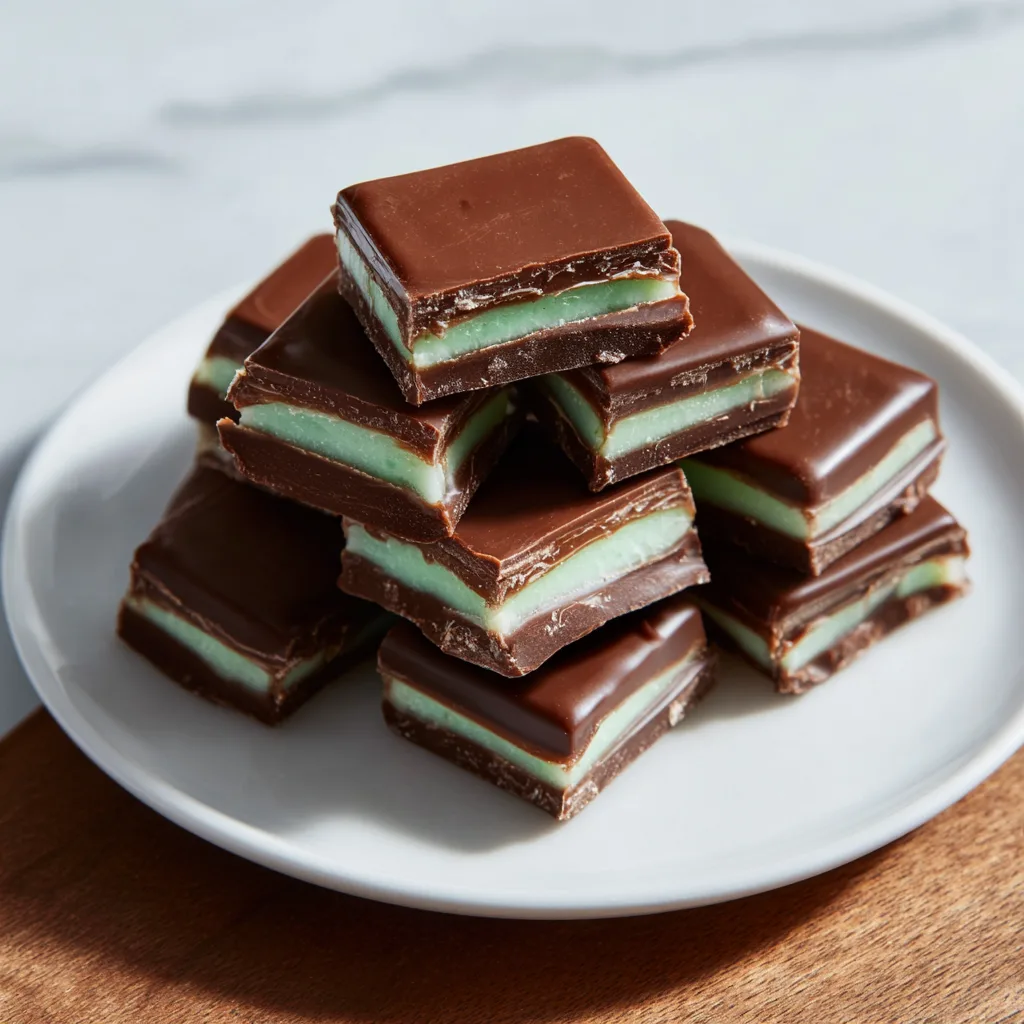
Homemade Andes Mint Chocolates
A Classic Candy You Can Make Yourself
Few candies are as instantly recognizable and nostalgic as Andes mints. With their silky chocolate layers and refreshing mint center, they’ve long been a favorite after-dinner treat, holiday candy, and giftable confection. The good news? You don’t need a factory or specialty equipment to recreate this iconic candy at home.
These Homemade Andes Mint Chocolates capture everything people love about the original: smooth texture, balanced mint flavor, and elegant presentation. By layering rich chocolate with a creamy mint filling, you can achieve professional-looking results using simple ingredients and techniques.
Homemade versions also allow full control over sweetness, mint intensity, and portion size—making them perfect for holiday trays, edible gifts, or anytime chocolate cravings.
Why Homemade Andes Mints Are Worth Making
- Simple ingredients, no candy thermometer
- Customizable mint flavor
- Perfect for gifting and holidays
- Stores beautifully and freezes well
They’re deceptively easy and incredibly rewarding.
Texture & Flavor Experience
Each bite delivers:
- Silky chocolate layers that melt smoothly
- Cool mint center that refreshes the palate
- Balanced sweetness without overpowering
The result is polished, elegant candy that feels store-bought—but better.
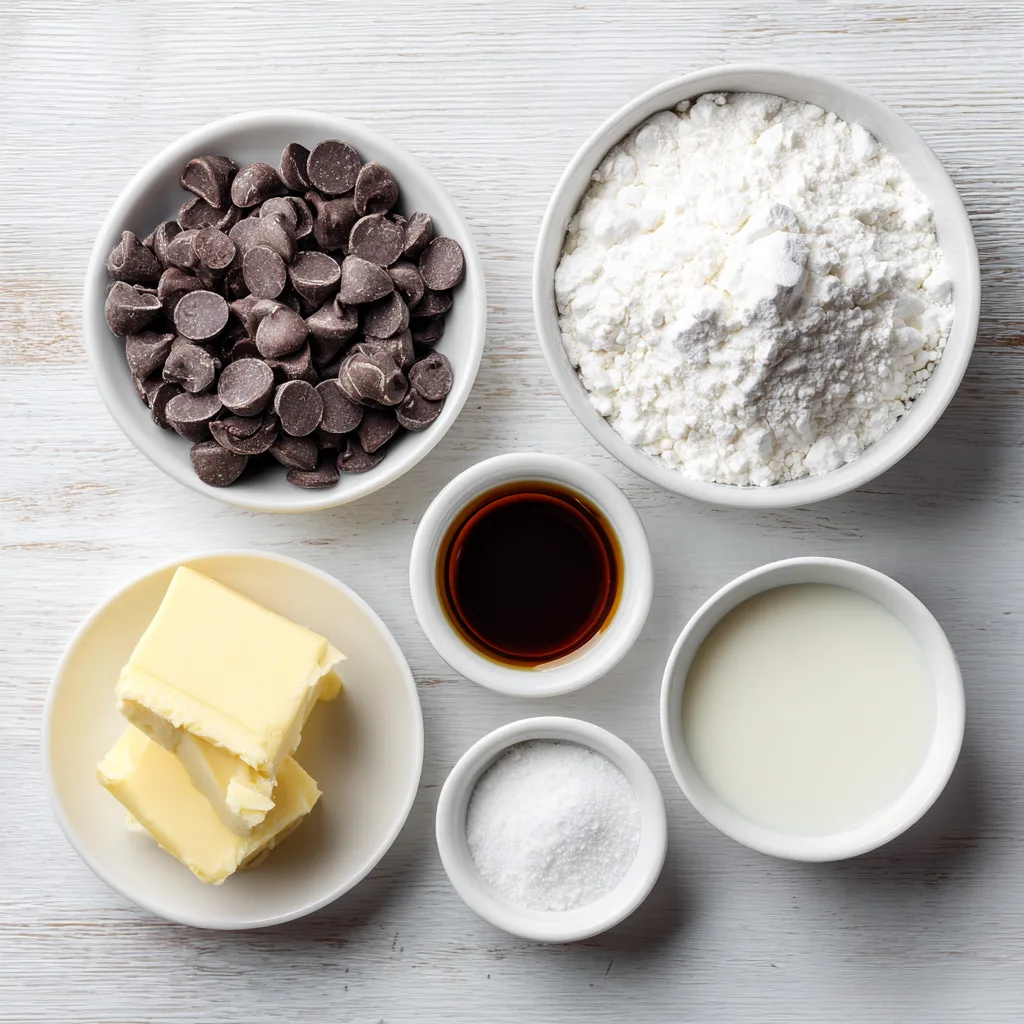
INGREDIENTS
Chocolate Layers
- 2 cups semi-sweet chocolate chips
- 1 tablespoon coconut oil or shortening
Mint Filling
- 1½ cups powdered sugar
- 2 tablespoons softened butter
- 1 tablespoon milk or cream
- ½ teaspoon peppermint extract
- Green food coloring (optional)
INSTRUCTIONS
- Line an 8×8-inch pan with parchment paper.
- Melt chocolate chips with coconut oil until smooth.
- Spread half of the melted chocolate evenly into the pan.
- Refrigerate until just set.
- Beat powdered sugar, butter, milk, peppermint extract, and food coloring until smooth.
- Spread mint filling evenly over the chocolate layer.
- Chill until firm.
- Rewarm remaining chocolate gently if needed.
- Spread final chocolate layer evenly over mint filling.
- Refrigerate until fully set.
- Lift candy from pan and cut into small rectangles.
- Store chilled or at room temperature.
Pro Tips for Perfect Layers
- Let each layer set slightly, not fully hard
- Use an offset spatula for smooth edges
- Chill between steps for clean results
Patience equals perfect presentation.
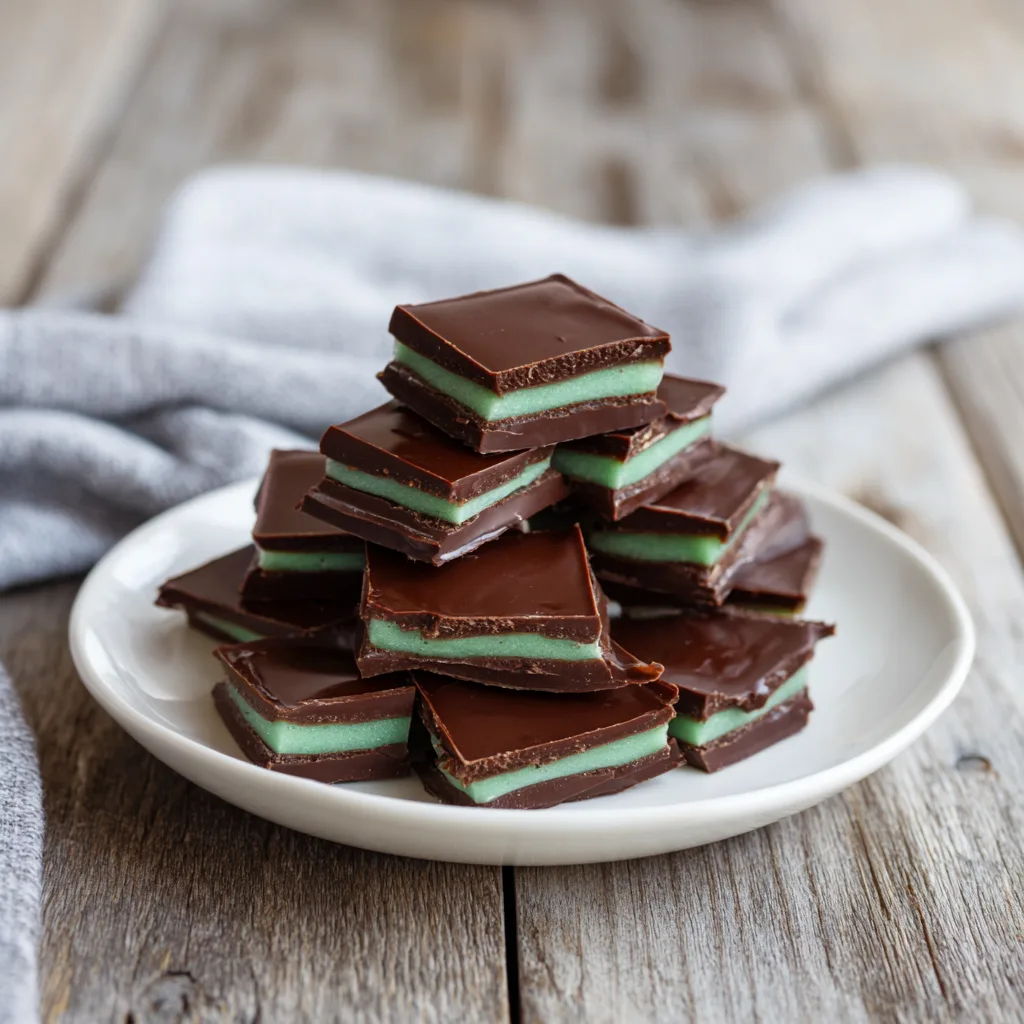
Perfect for Gifting
These chocolates are ideal for:
- Holiday treat boxes
- Party dessert trays
- Homemade candy gifts
- After-dinner mints
Wrap in parchment or place in small candy boxes for an elegant touch.
Storage & Shelf Life
- Refrigerate up to 2 weeks
- Freeze up to 2 months
- Serve slightly chilled or room temperature
They maintain texture beautifully over time.
Homemade Andes Mint Chocolates
Ingredients
Equipment
Method
- Melt chocolate and spread first layer.
- Chill until set.
- Prepare mint filling and spread evenly.
- Chill and top with remaining chocolate.
- Refrigerate until firm and cut into pieces.


